Configuration Page:
Welcome to the configuration page for your AI chat assistant! Here, you can customize various settings to tailor the assistant to your specific needs.
Steps to Configure:
Select Store Type
Choose the type of store your assistant will be assisting with. This helps personalize the responses and recommendations it provides to users.
Define Personal Shopper Profession
Name the profession of your personal shopper assistant.
Give expert description
Provide a brief description of its role and capabilities. This step is essential for chat bot to understand the purpose of the assistant.
Clear Form Content
If you need to start over or clear the contents of the form, simply click the reset button.
Submit Your Configuration
Once you've selected the store type and defined the personal shopper profession, click the submit button to save your settings.
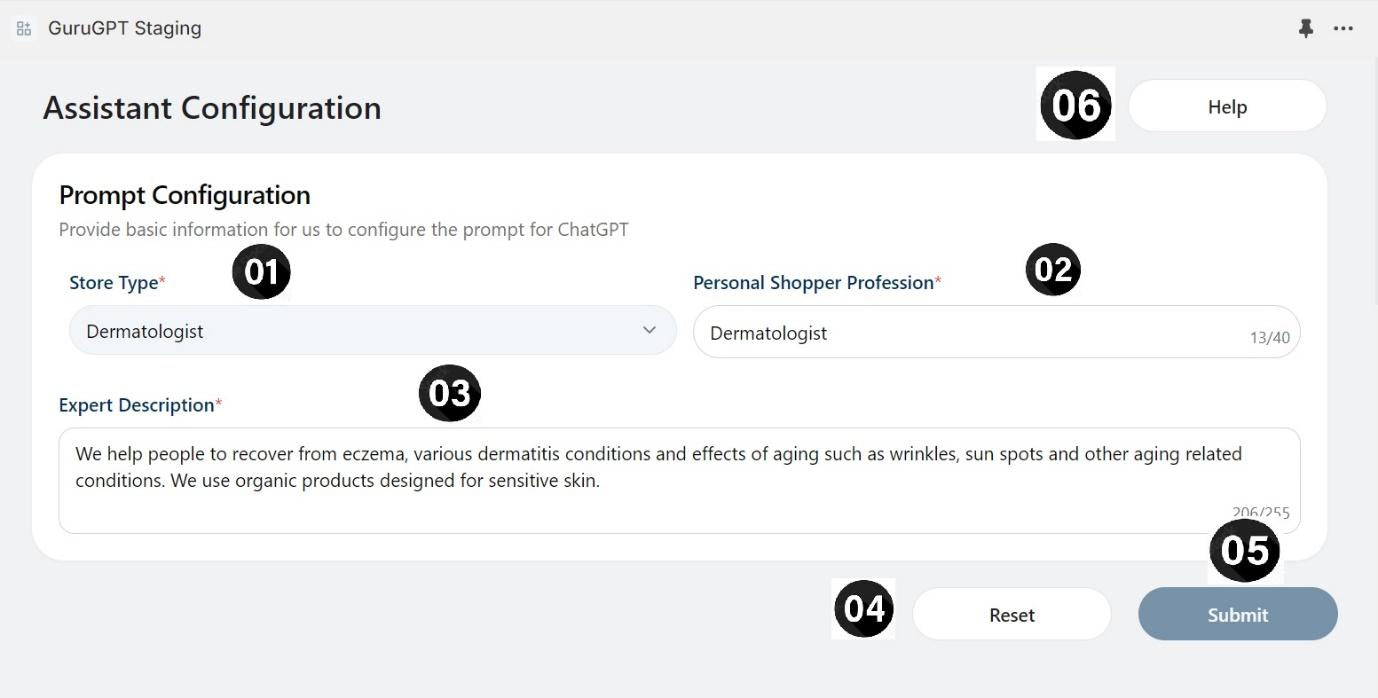
Avail Help
If you’re stuck, click the help button to be redirected to a help page where you can get help setting up the bot.
AI Knowledge base
Upload custom PDF documents (up to 5MB) to enhance AI learning. This feature allows you to teach the AI by providing specific content, ensuring more accurate and relevant responses tailored to your unique requirements.
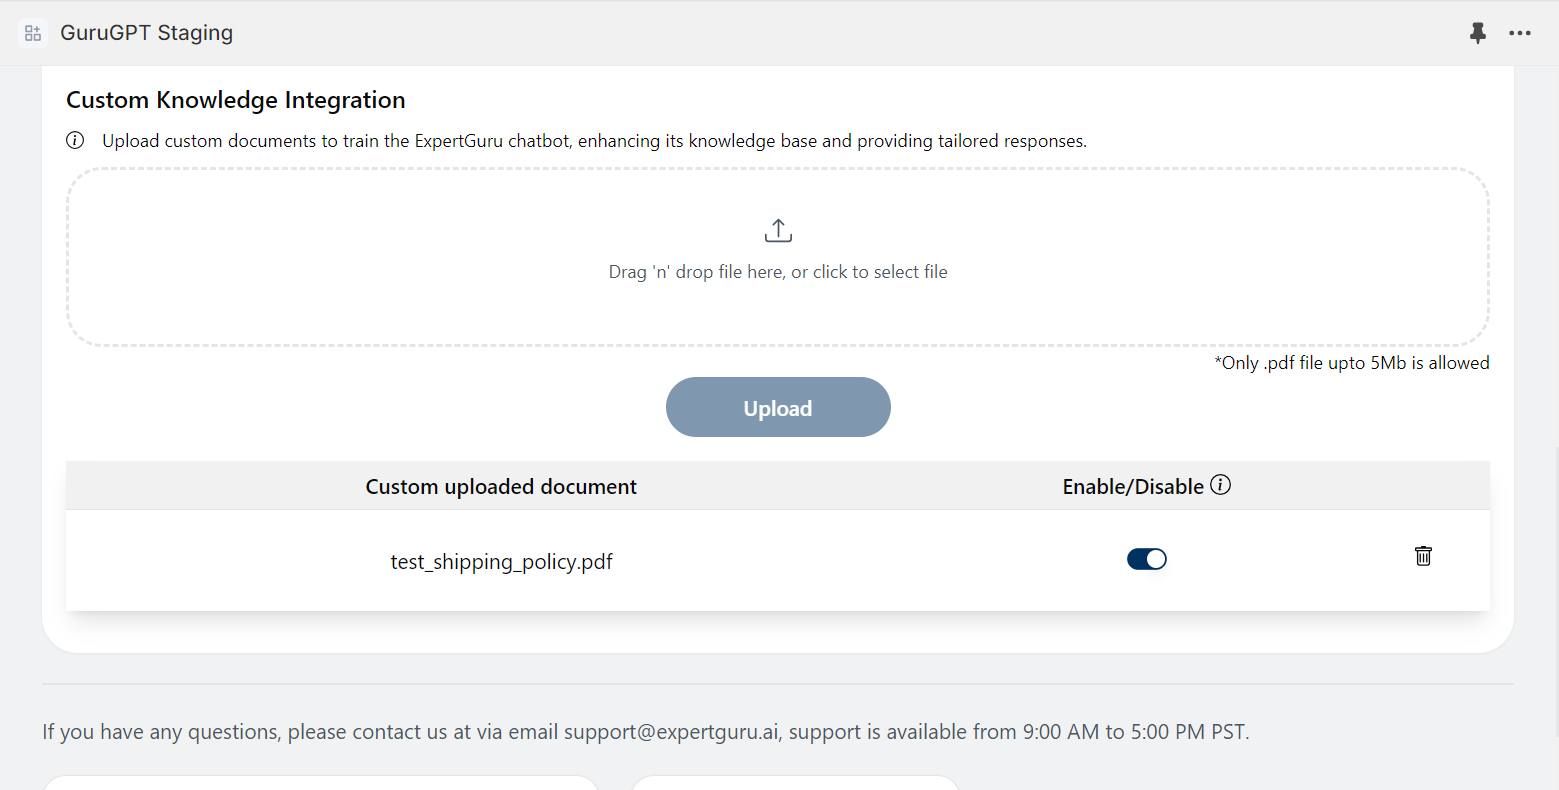
Uploading Document:
Click on the file upload area or drag and drop a file there.
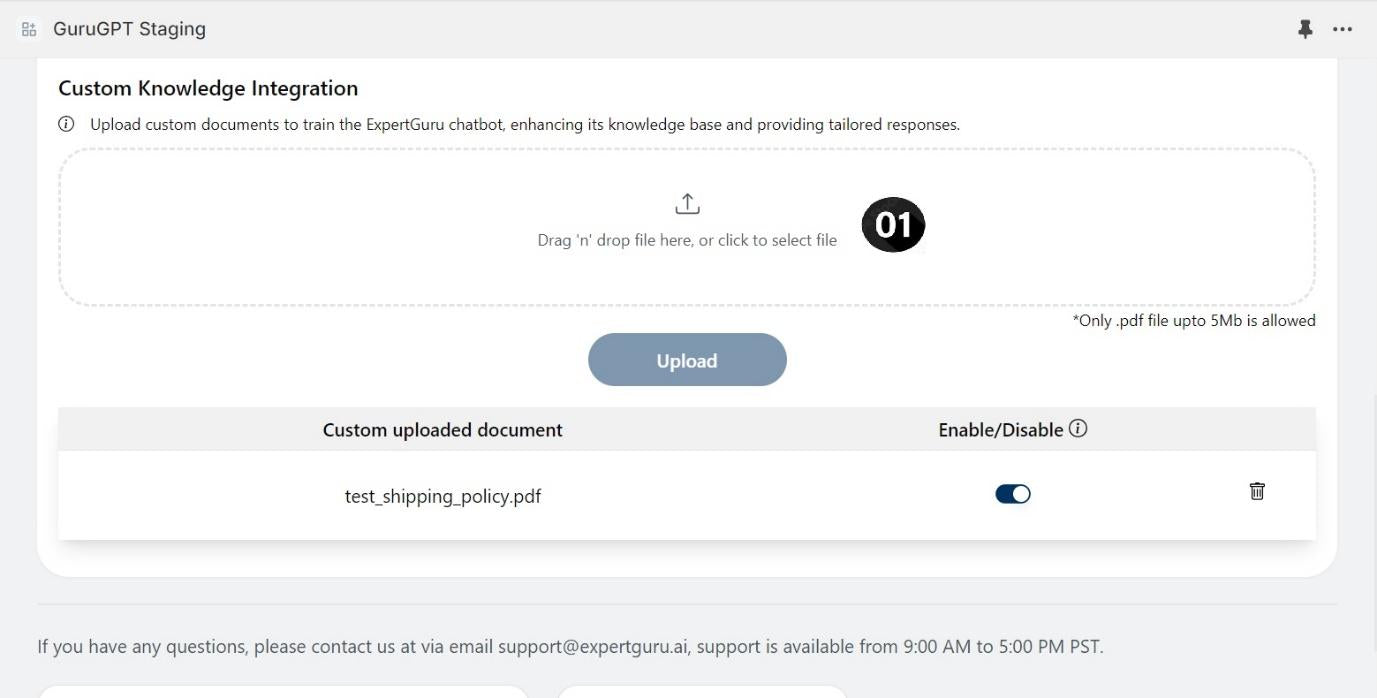
Select a pdf file to upload. The AI bot will learn from it.
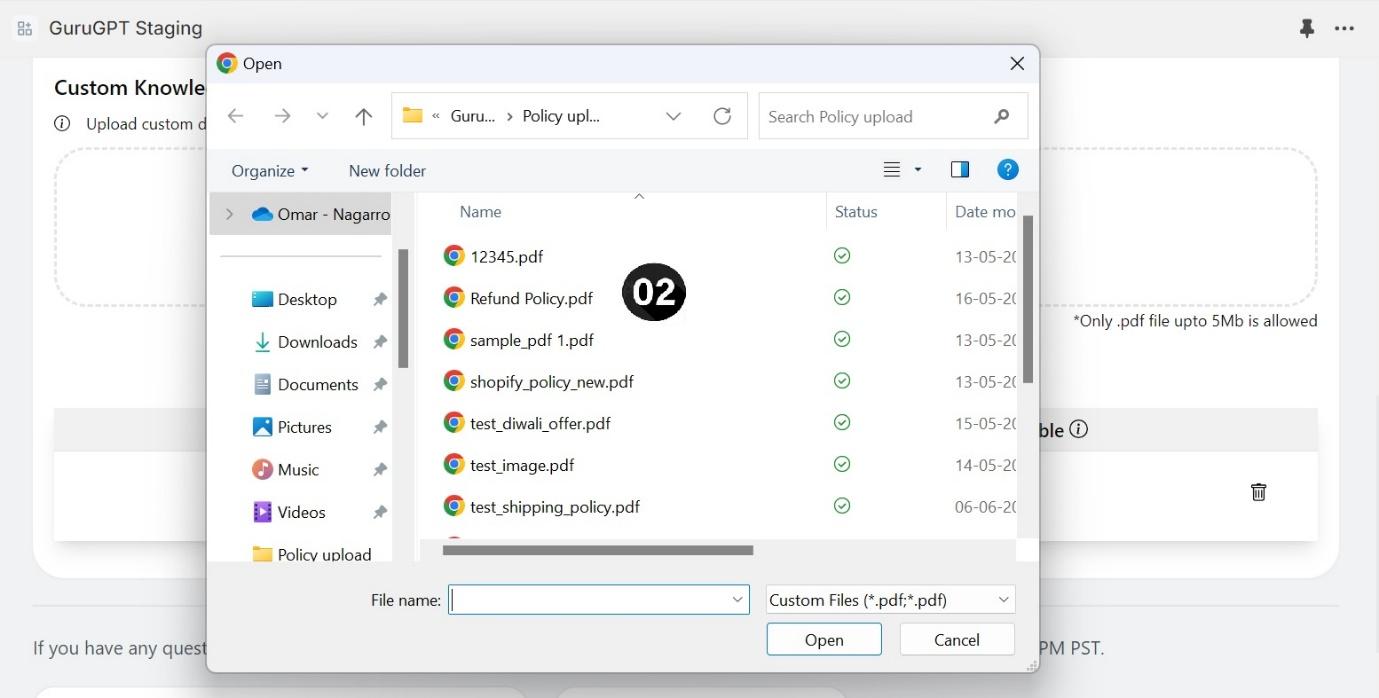
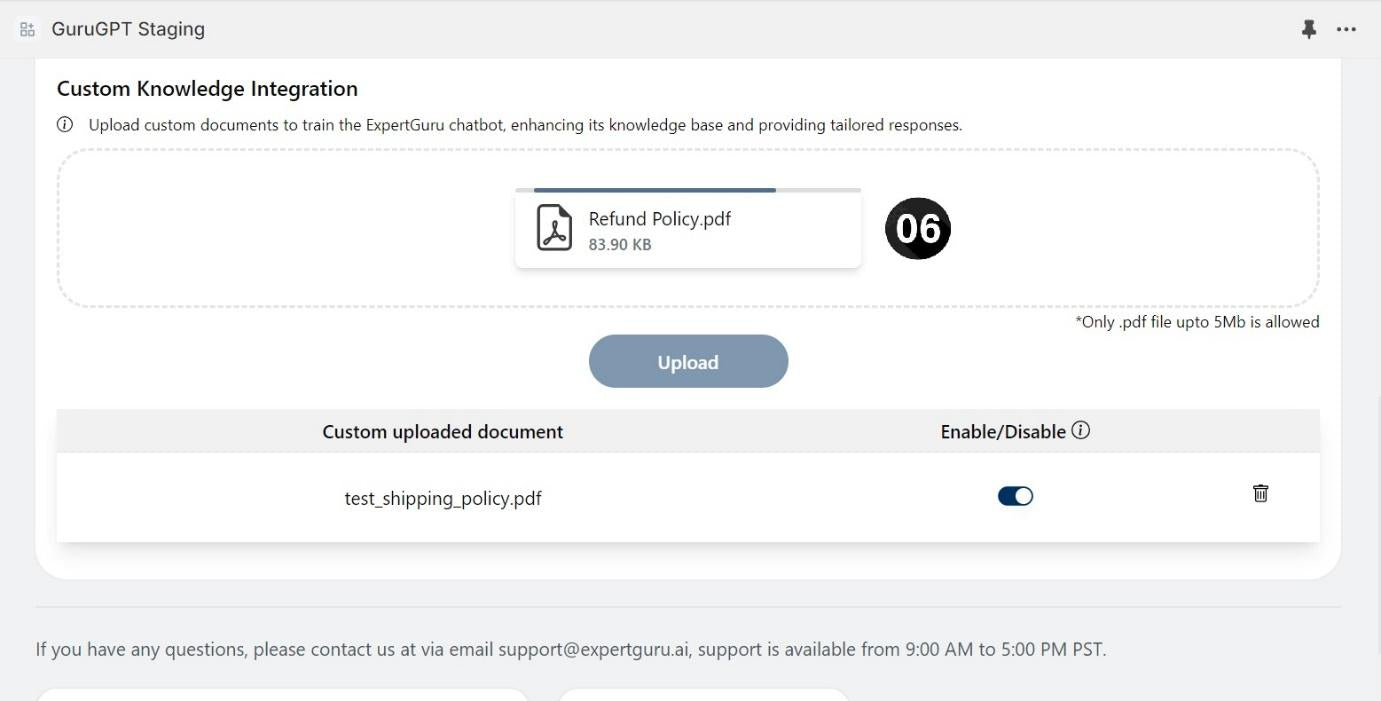
File has been selected.
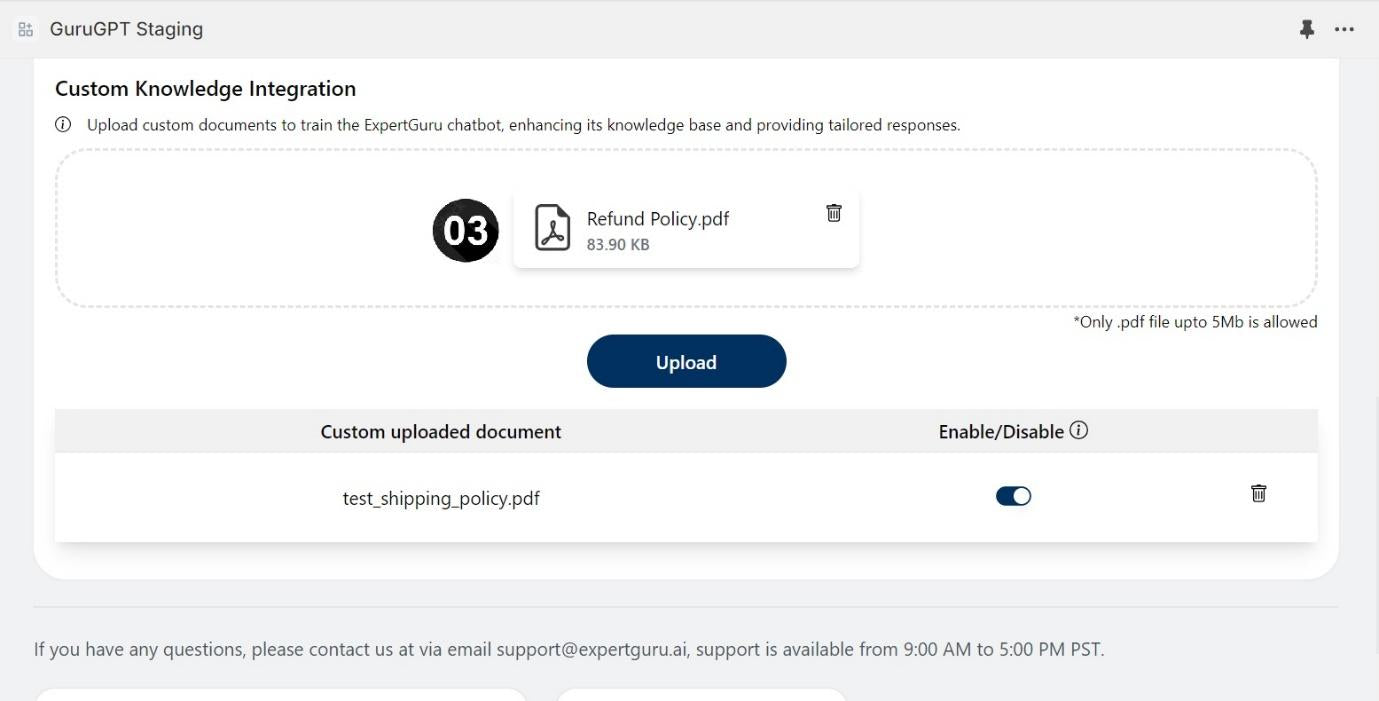
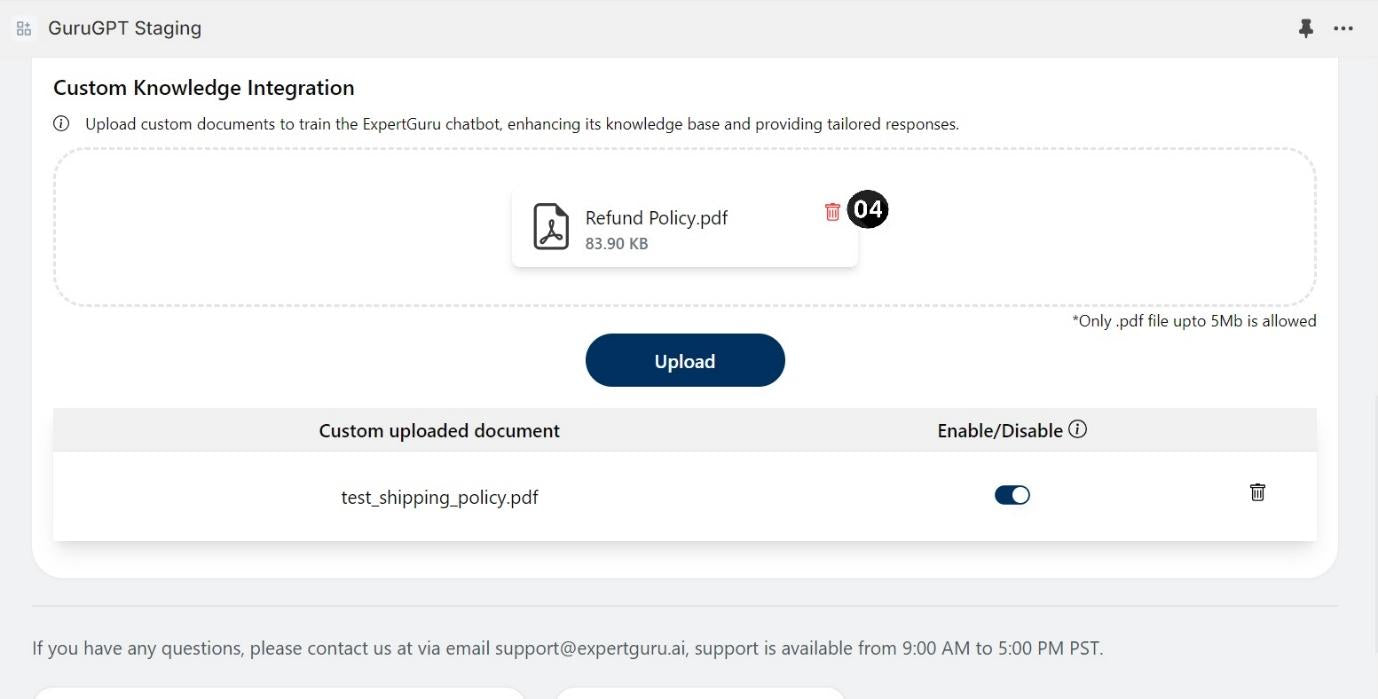
(Optional)
If selected the wrong file, click on the delete icon to remove that
Click on the upload button.
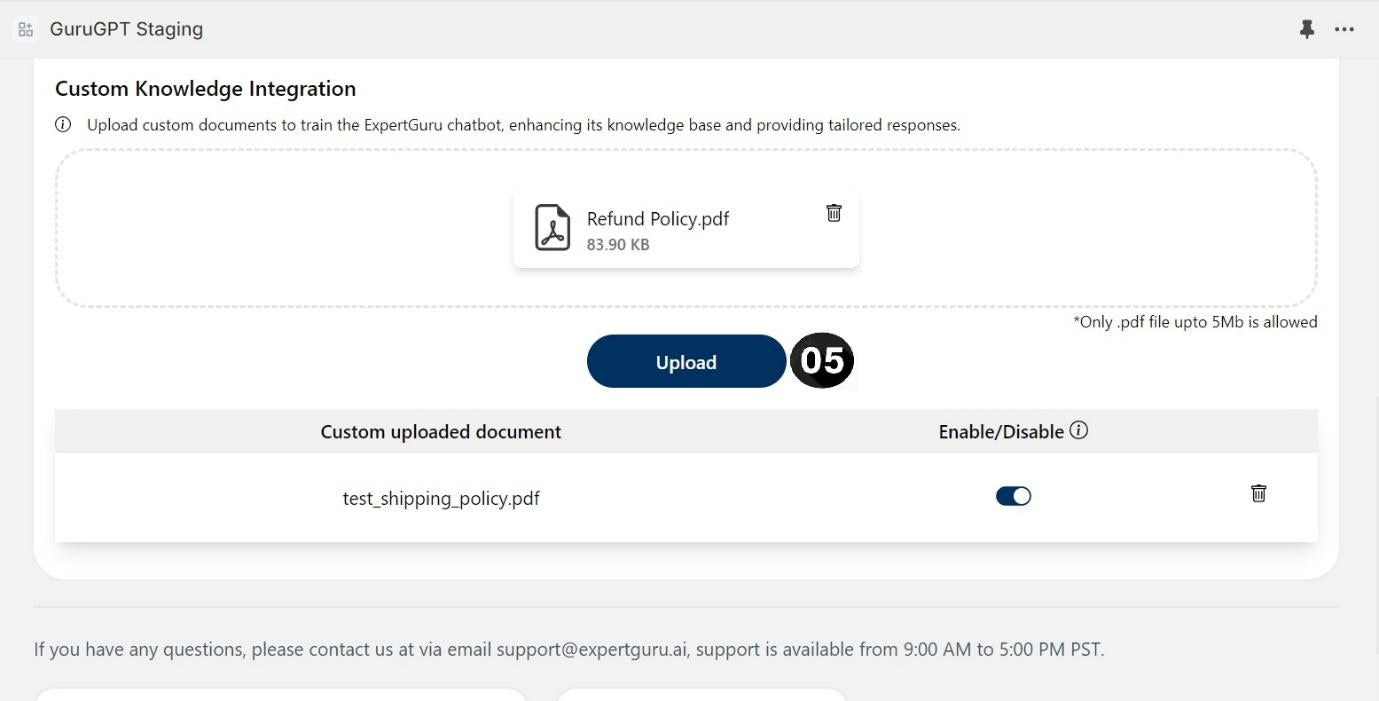
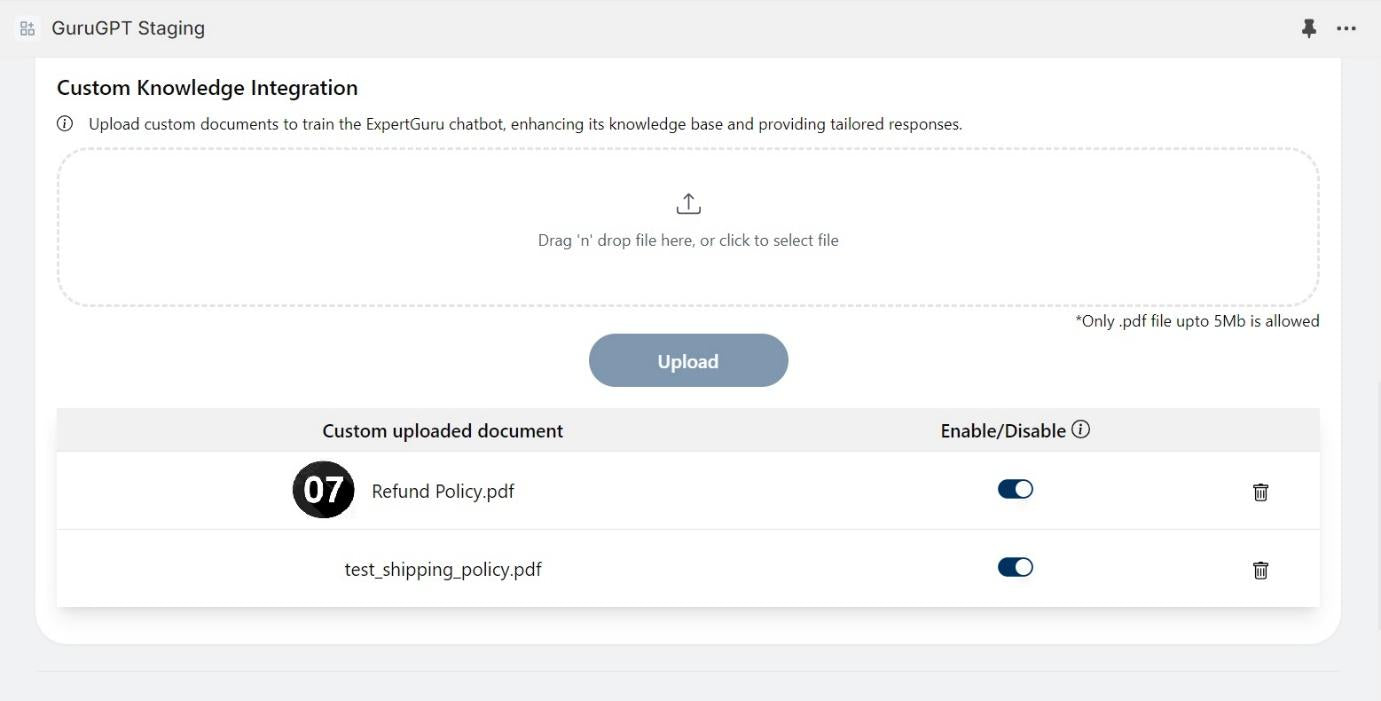
The file will start uploading. Please wait as the AI bot will learn the file contents as well which can take a few minutes depending on the file size and text in it.
The file has been uploaded successfully and the AI bot has finished learning.
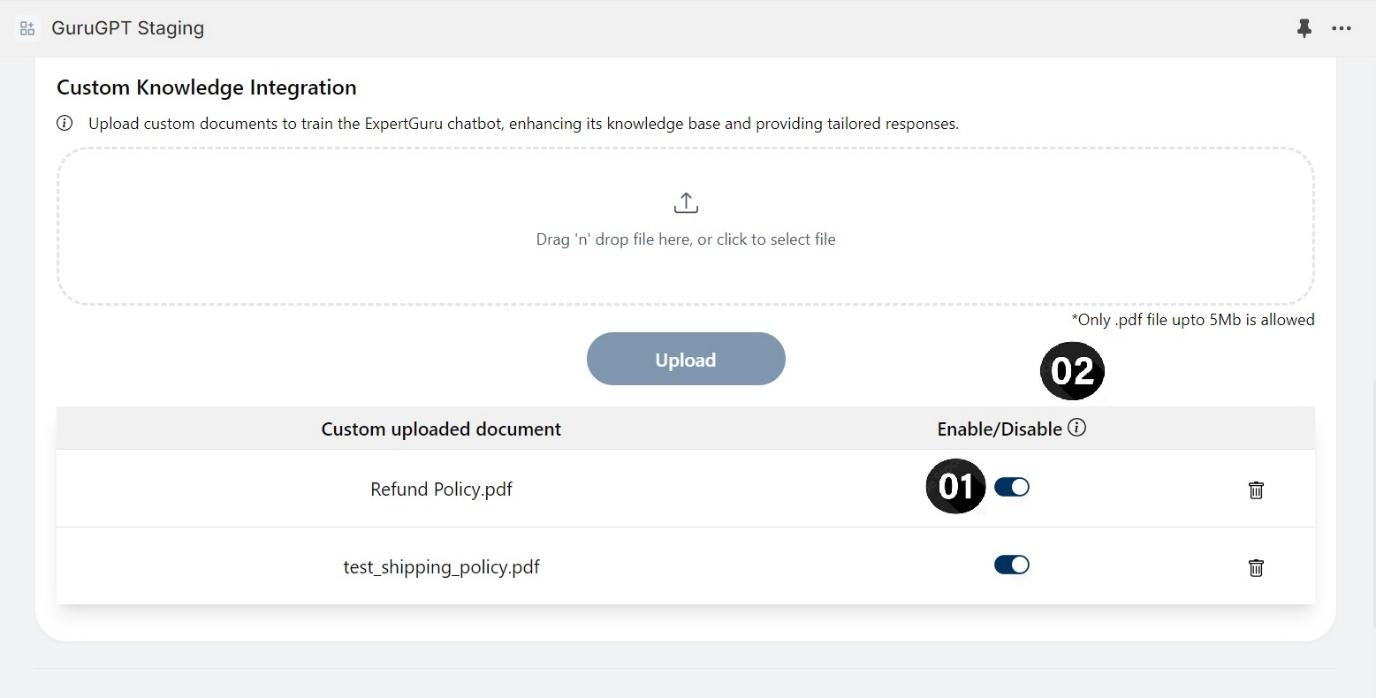
Toggling custom documents
Disabling a certain document, such that the AI bot does not use its contents to answer to questions.
Simply press the toggle button of that file.
Hover over the (i) icon for quick info about this feature.
Avatar page
Avatar page is the source of tweaking the chat bot assistant to your own needs! You can freely customize the avatar icons, position, enable/disable notification sounds and add predefined questions.
Configuring avatar icon
1. Full Size Avatar
Select chat floater type (Full size avatar)
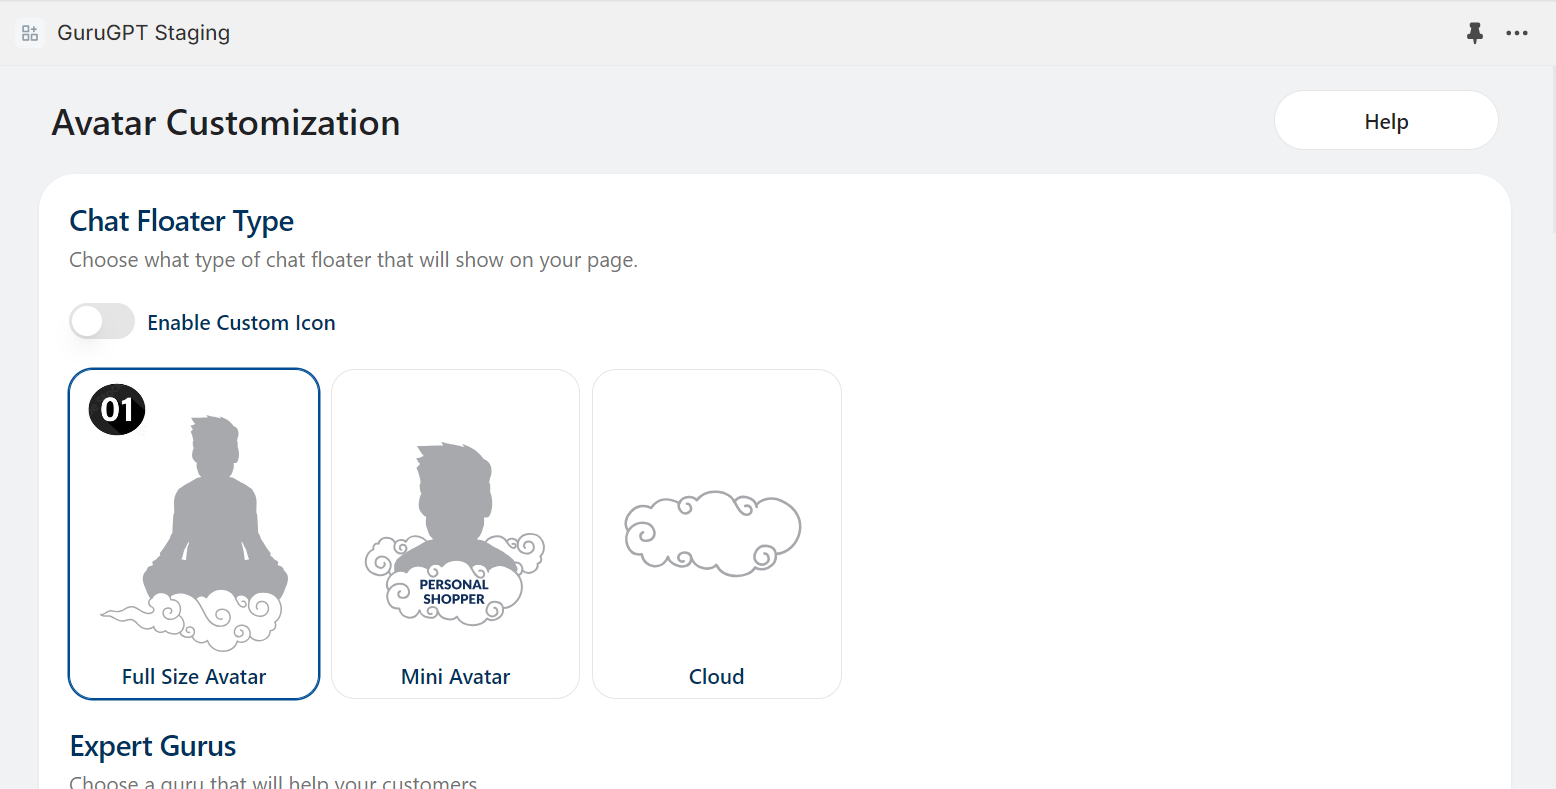
Select one of the prebuilt avatars.
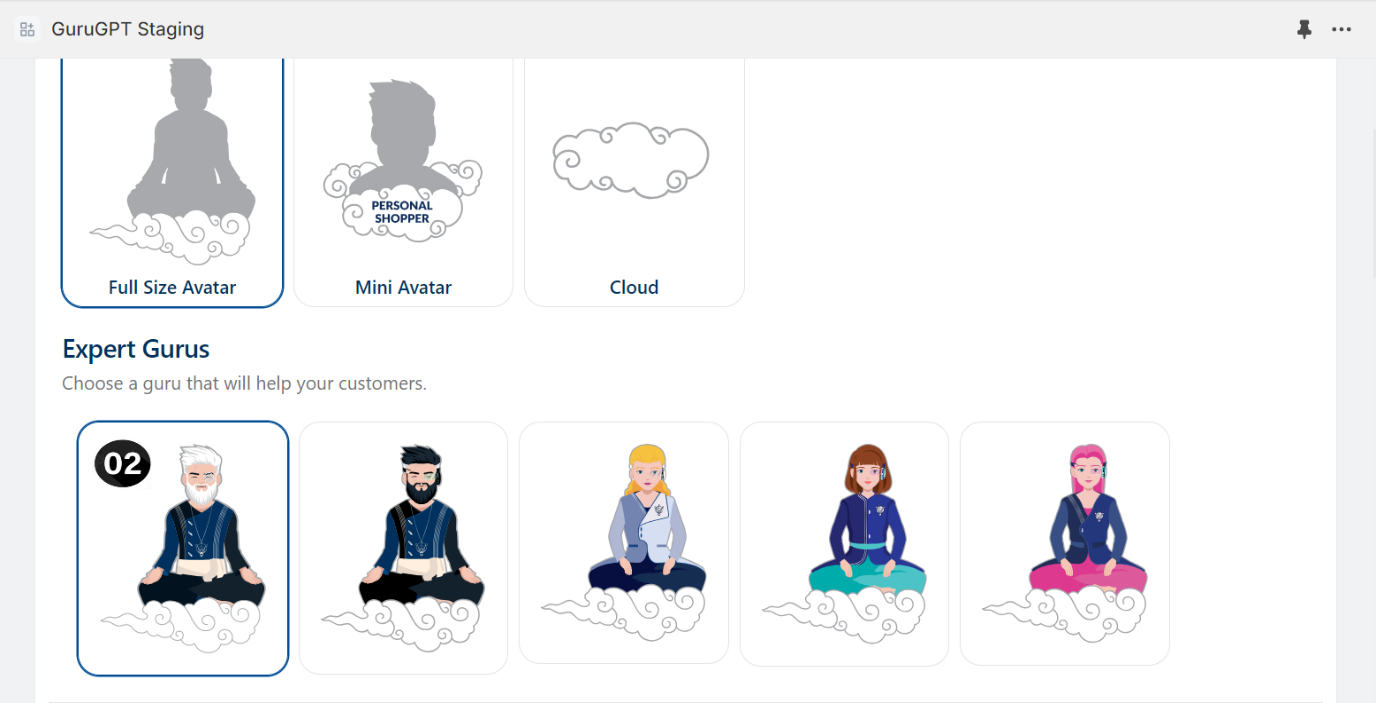
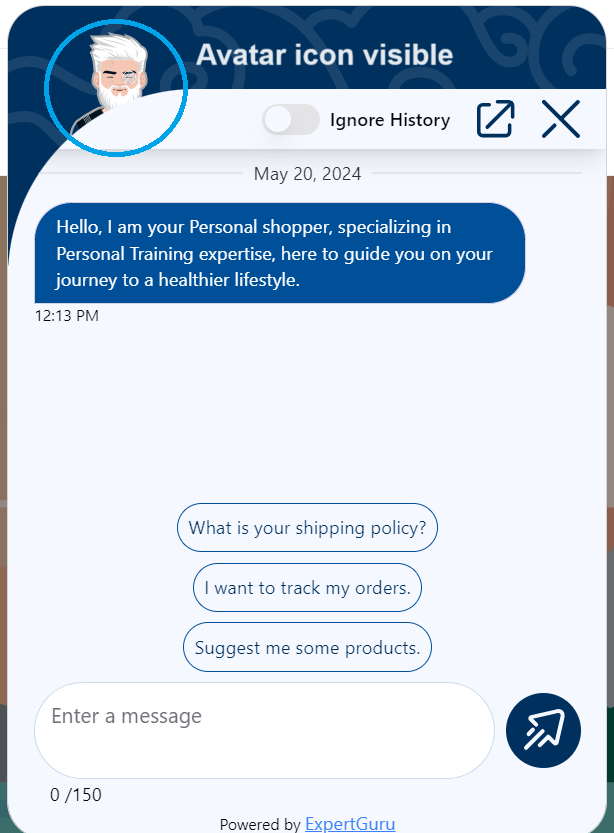
The avatar icon is also visible in the chat window
2. Mini avatar
Select chat floater type (Mini avatar)
Select one of the prebuilt avatars.
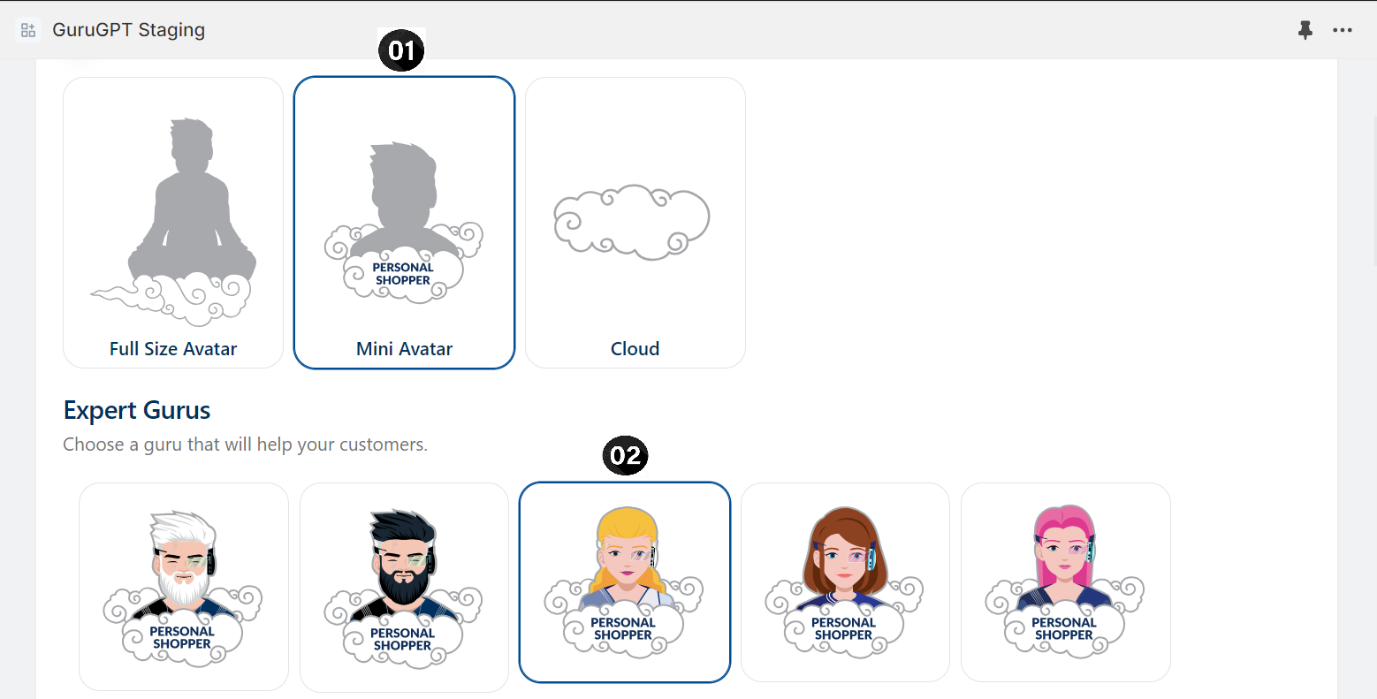

The mini avatar icon is also visible in the chat window
3. Cloud avatar
Select chat floater type (cloud)
Select one of the prebuilt avatars.
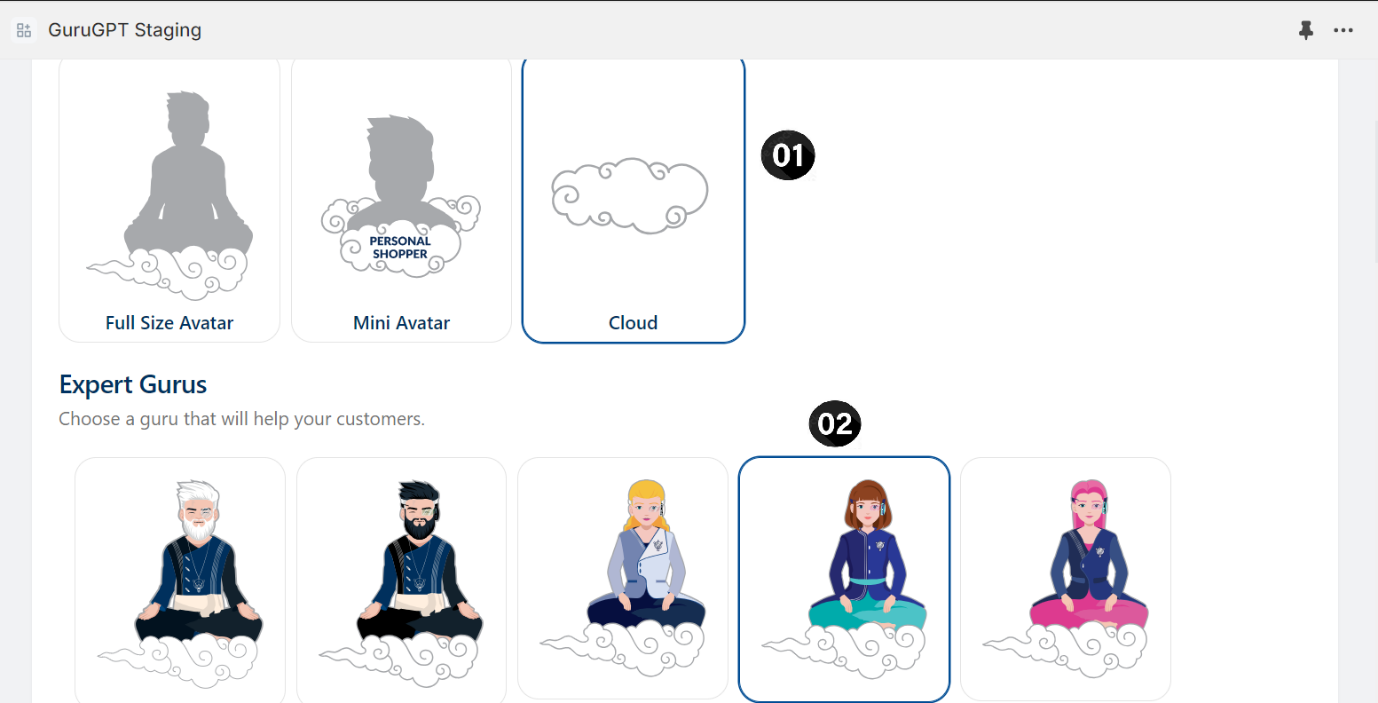
The avatar icon is also visible in the chat window
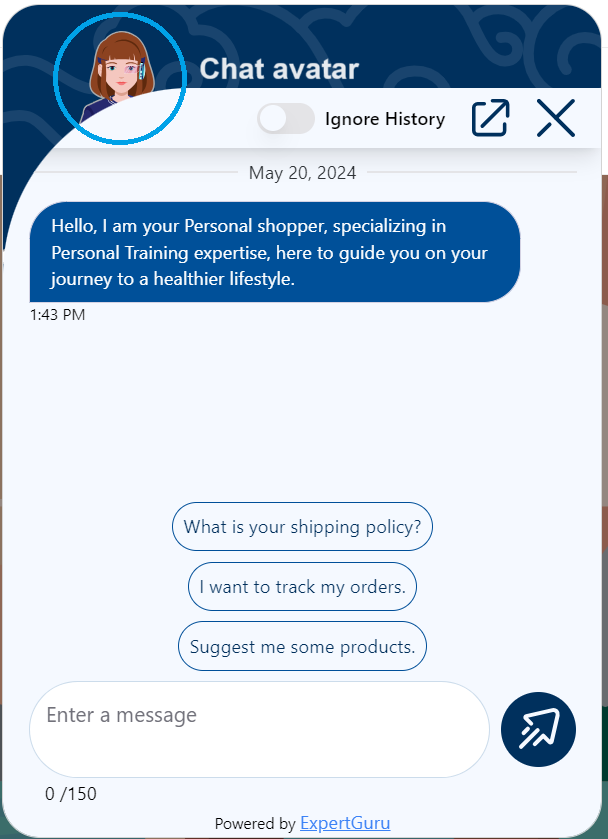
Give the expert guru a name. This name will be visible to users in the cloud icon chat floater.

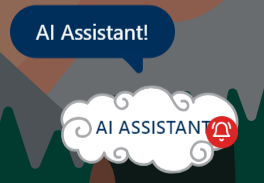
Chat floater with guru name.
4. Custom Icon
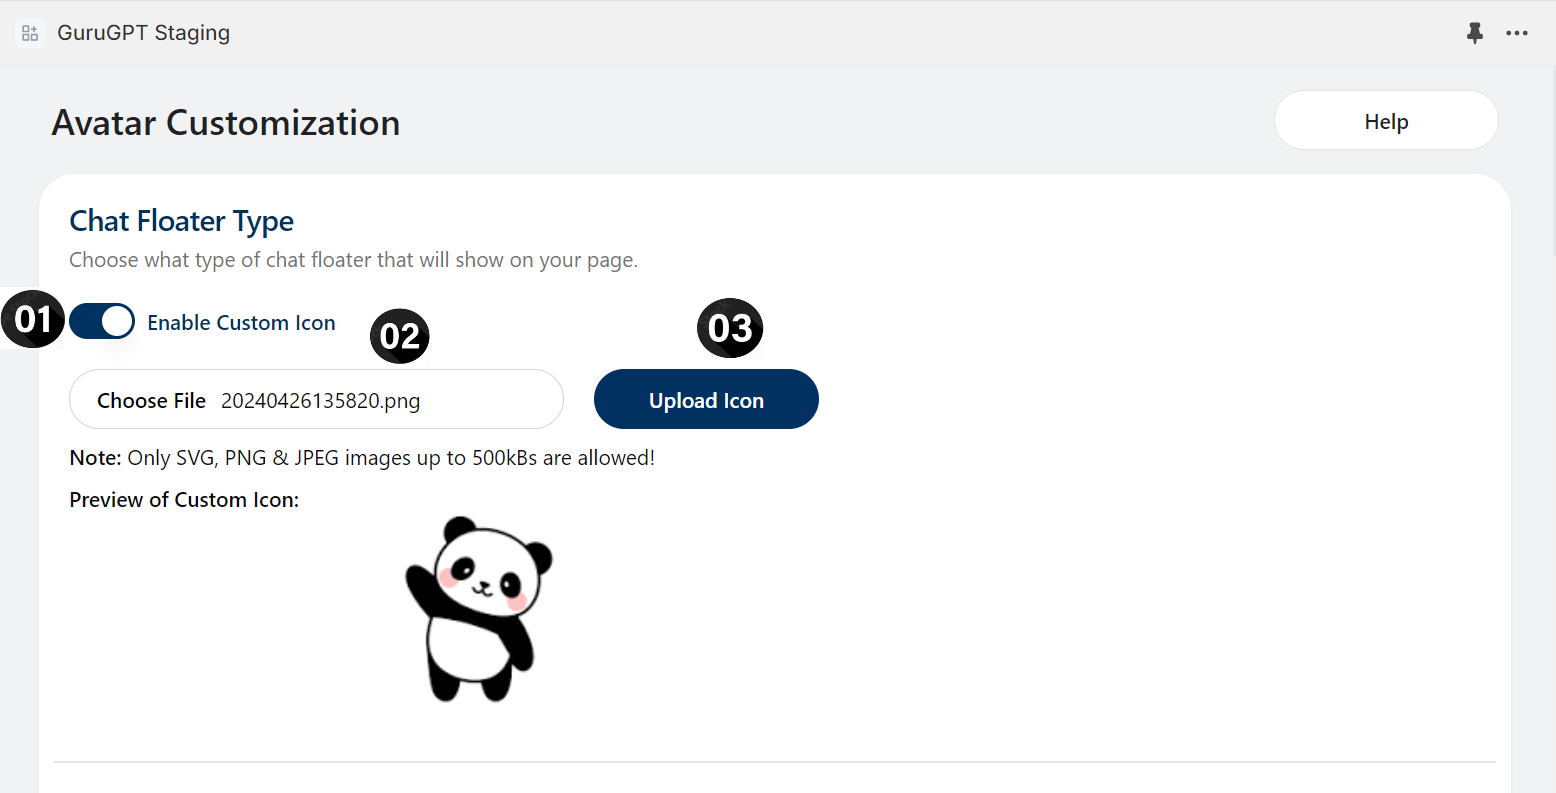
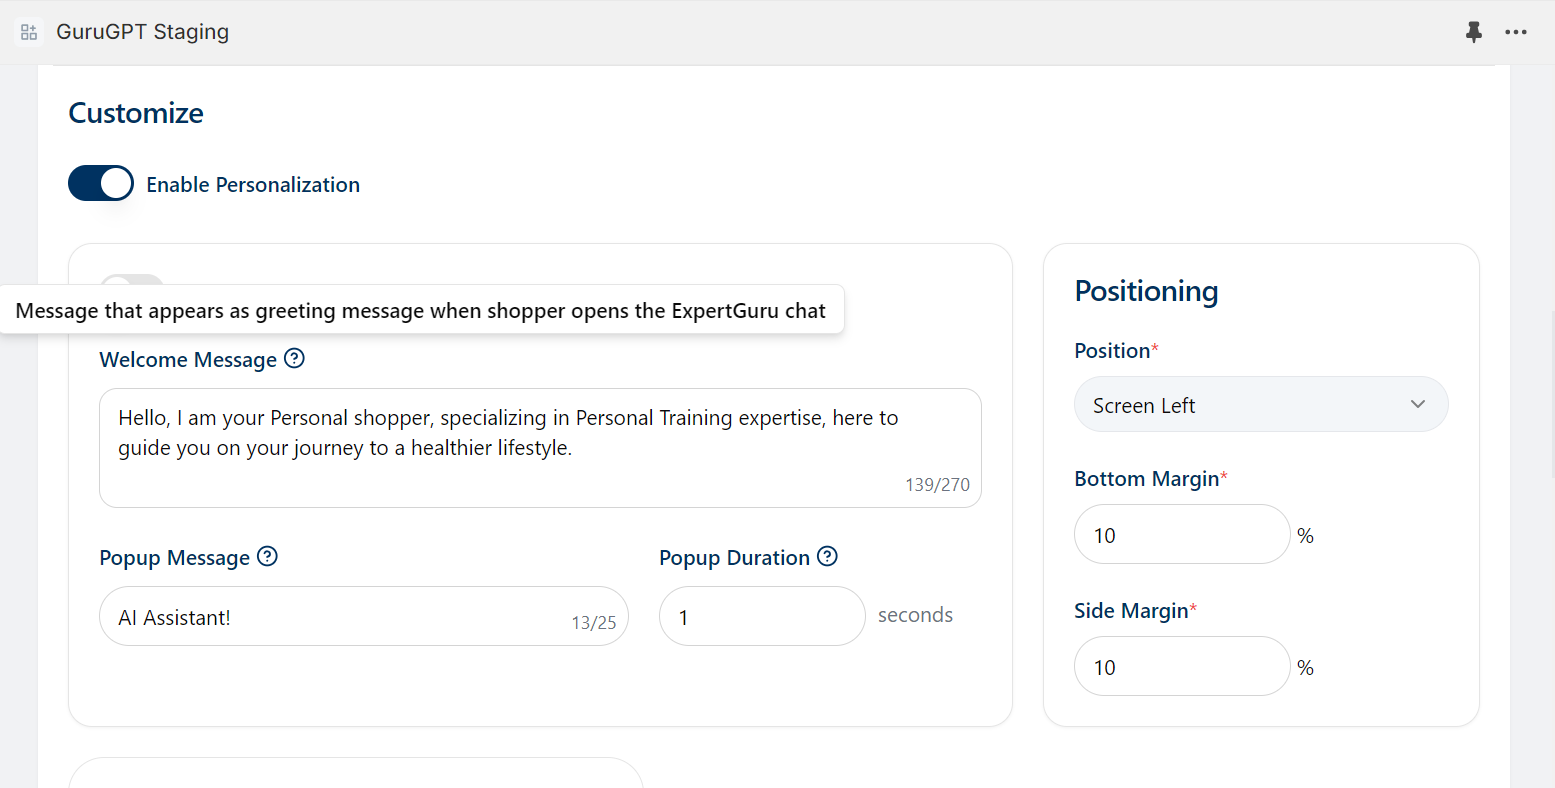
Chat assistant customization
Enable “Enable Personalization” slider.
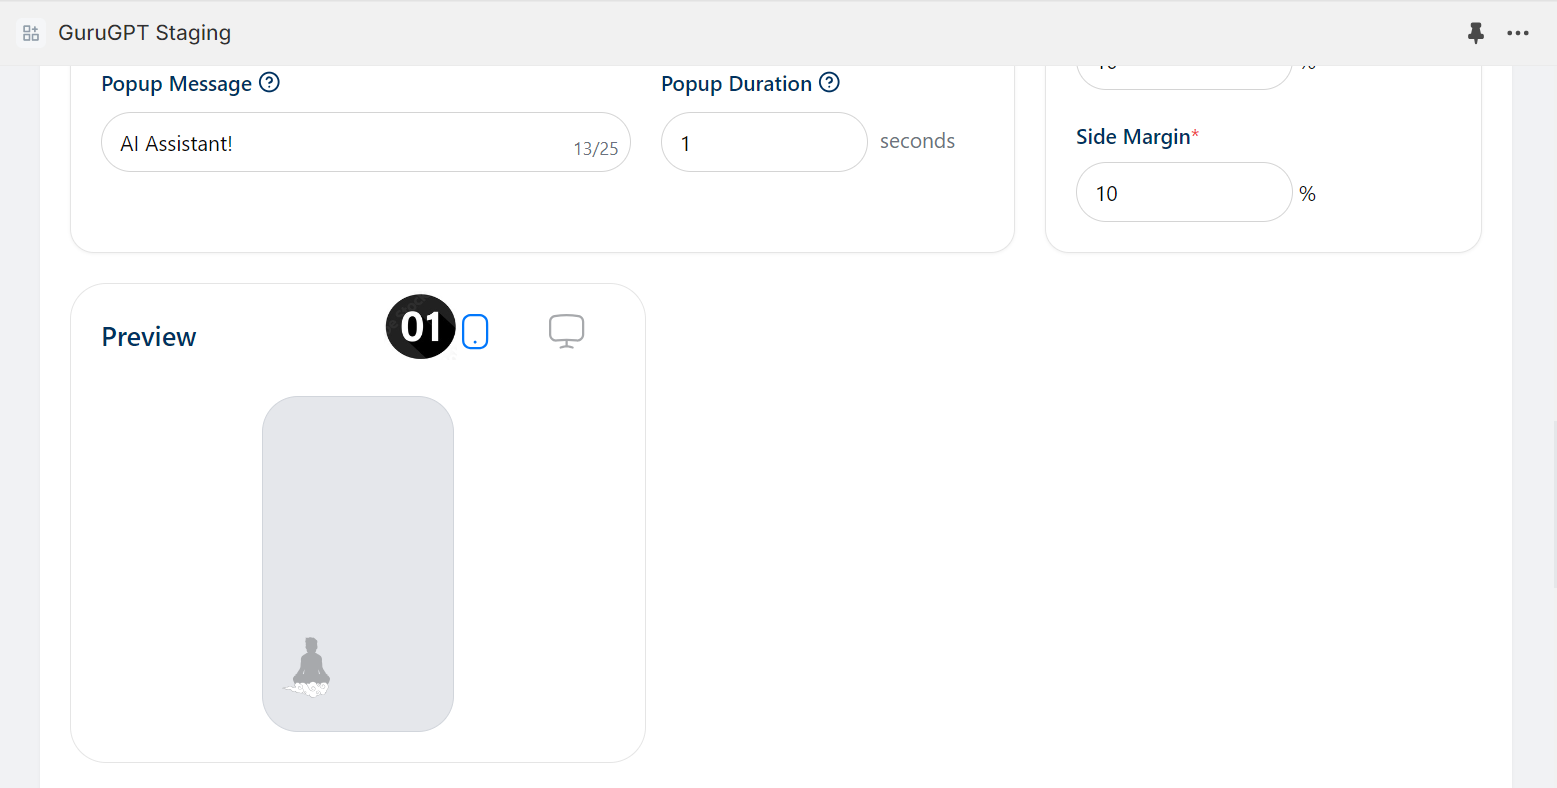
Based on preferences, select welcome message, pop-up message, Pop-up duration and notification sounds. The pop-up duration is the amount of time after which the chat bot will ring a bell and ask if the user needs assistance using the predefined welcome message.
Chat Icon Positioning
Select one option from the position drop down.
Set the bottom margin and side margin (Side margin is the distance from the side it is closer to. For example, if you choose left as the position then the side margin is distance from the left side of the page)

Preview
Shows a preview of the position of the chat assistant icon on horizontal and vertical devices.
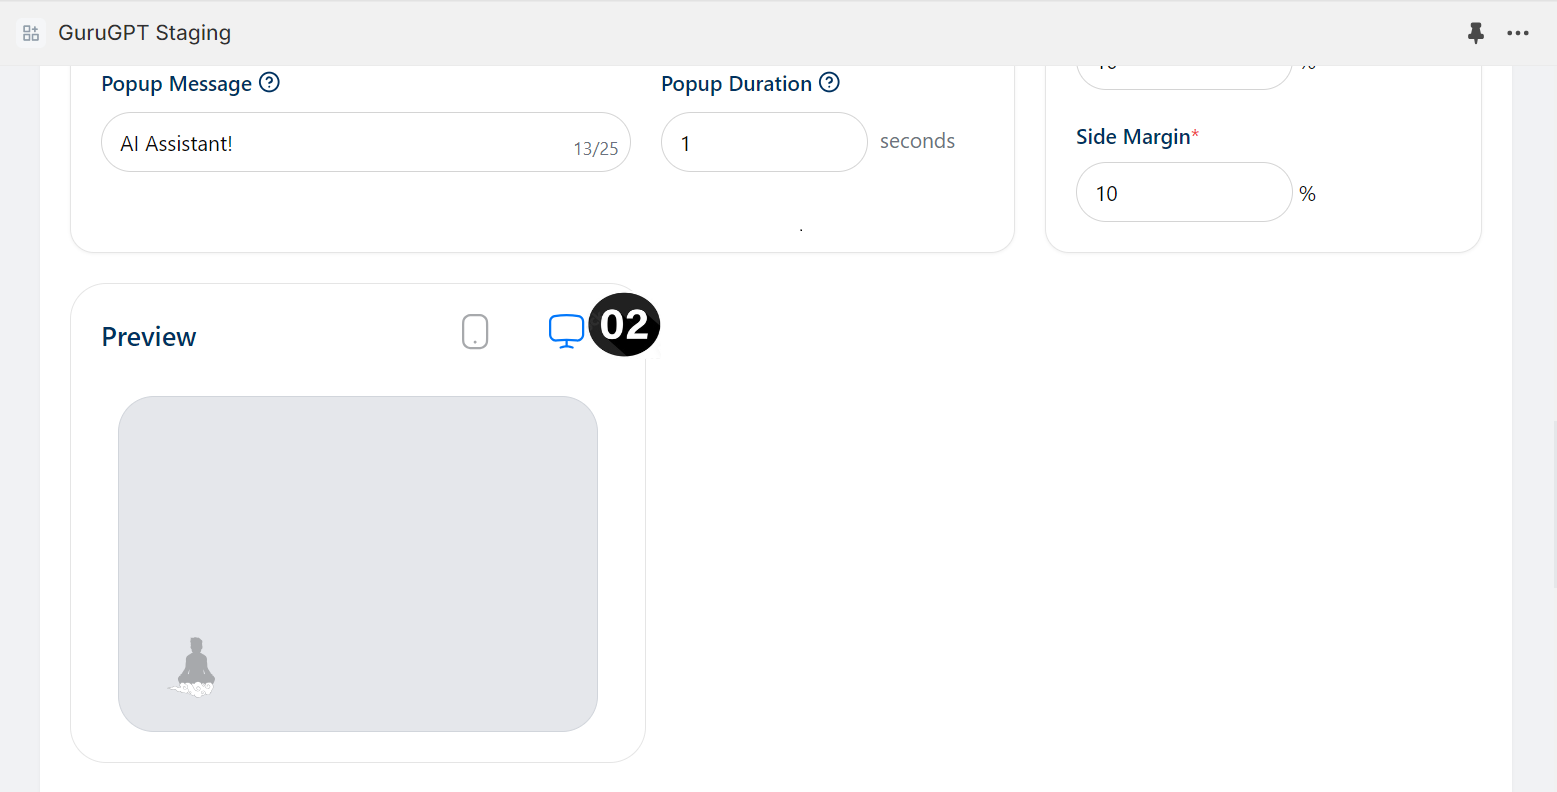
Note: You can hover over the question mark icons to get information as well.
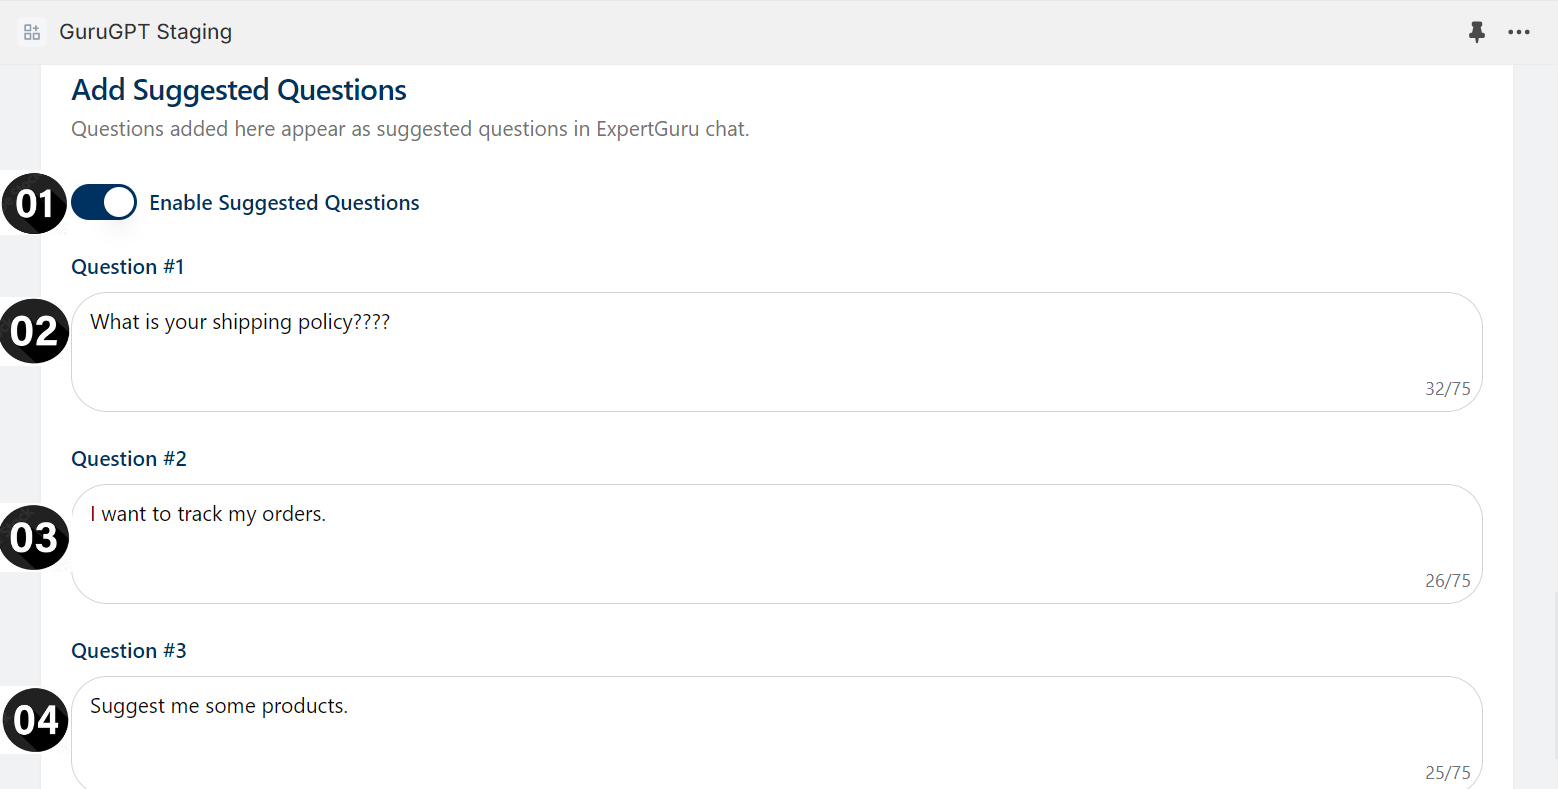
Add suggested questions
Capability to ask the user to choose from the predefined questions.
Enable the suggested questions slider.
Mention one to three predefined questions.
Click submit
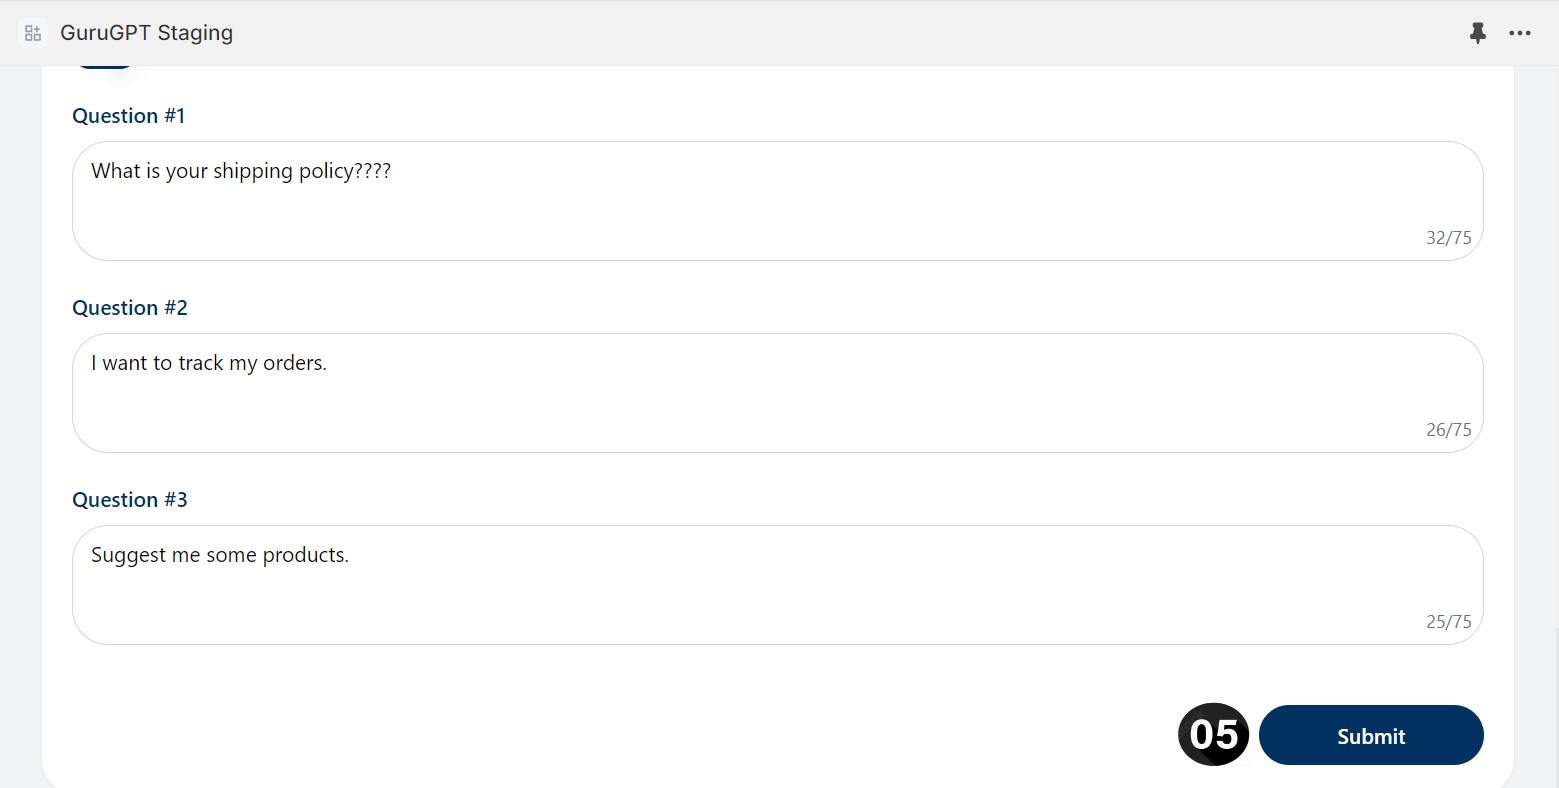
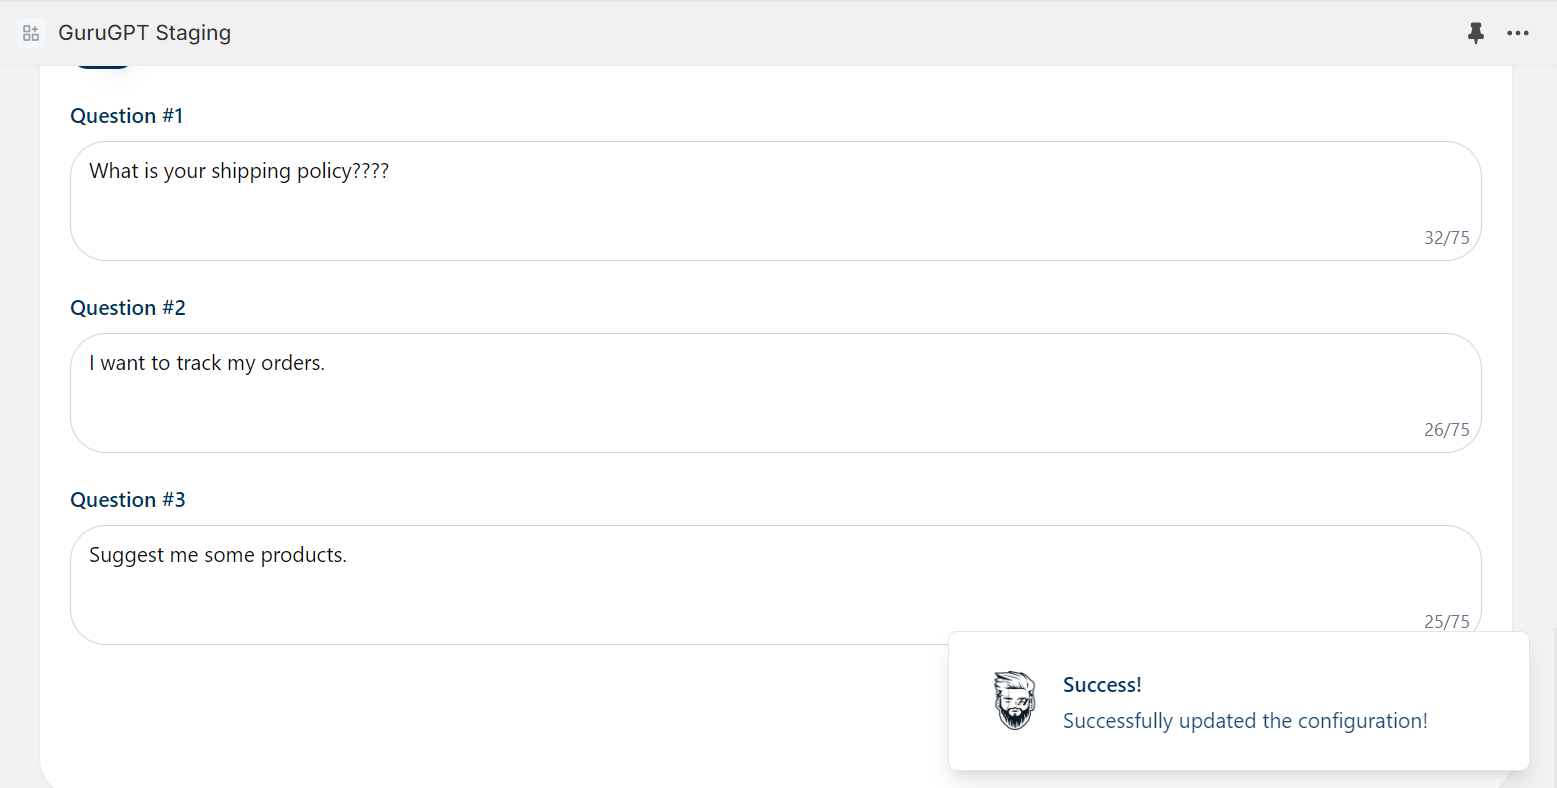
Configuration updated successfully
Conversation history page
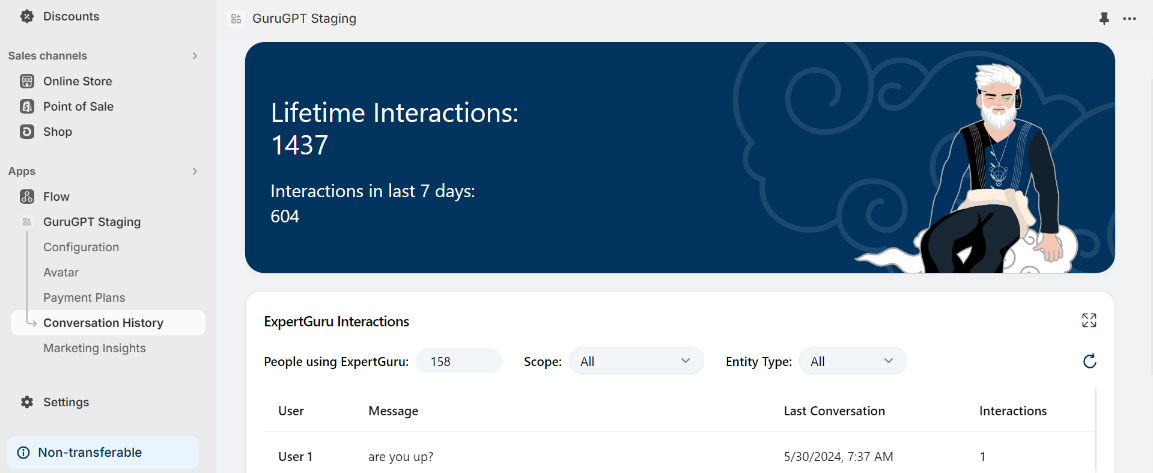
Conversation history page
Checking conversation history:
Click any of the chats from the list.
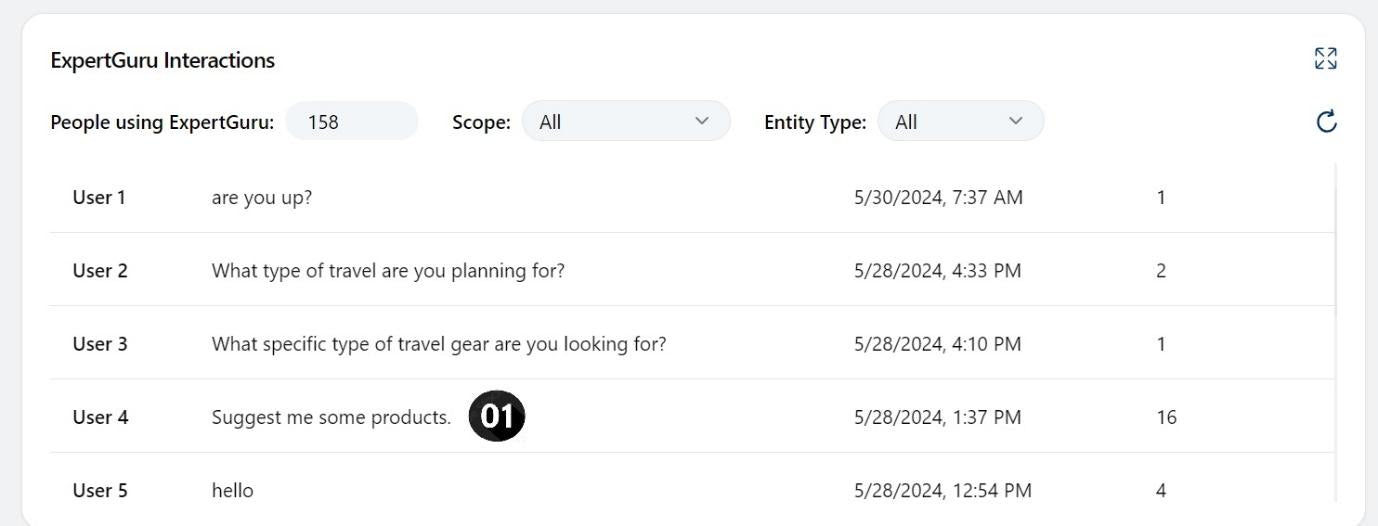
Select a chat
A mini window will open where you can read chat history.
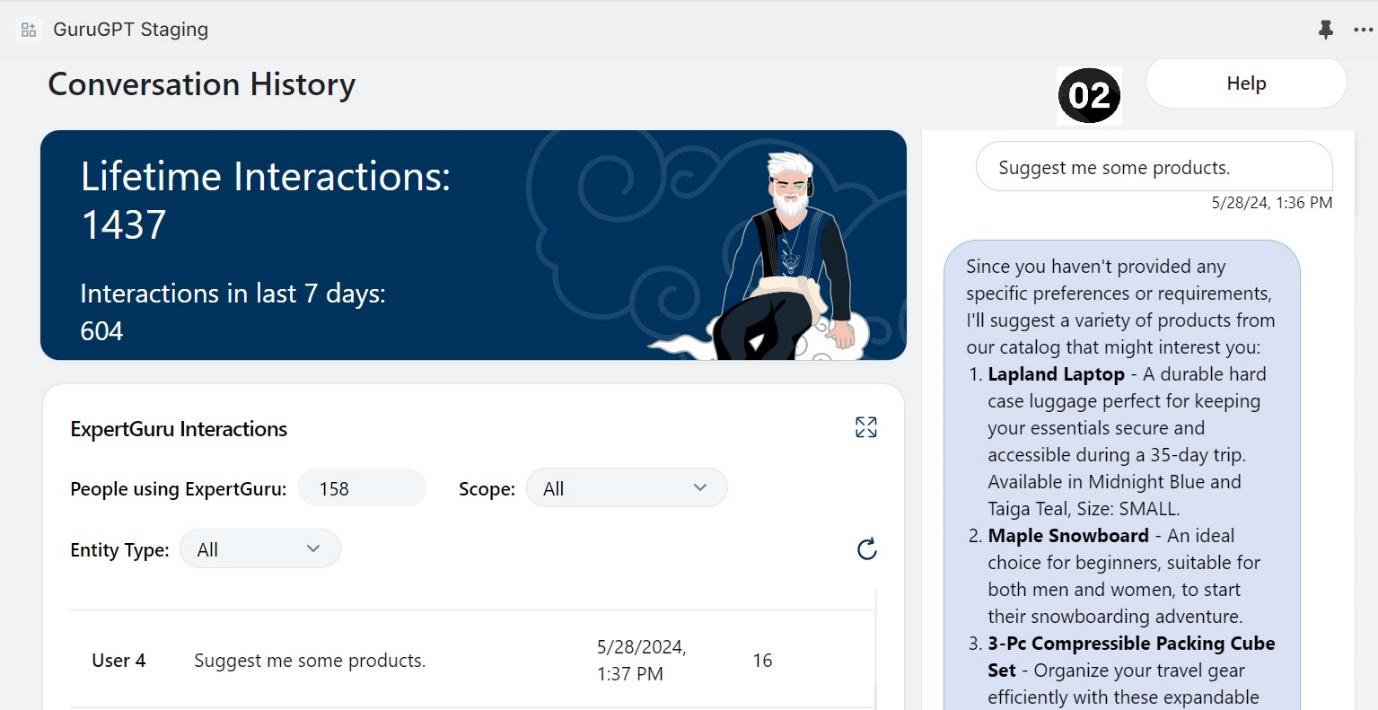
View chat history
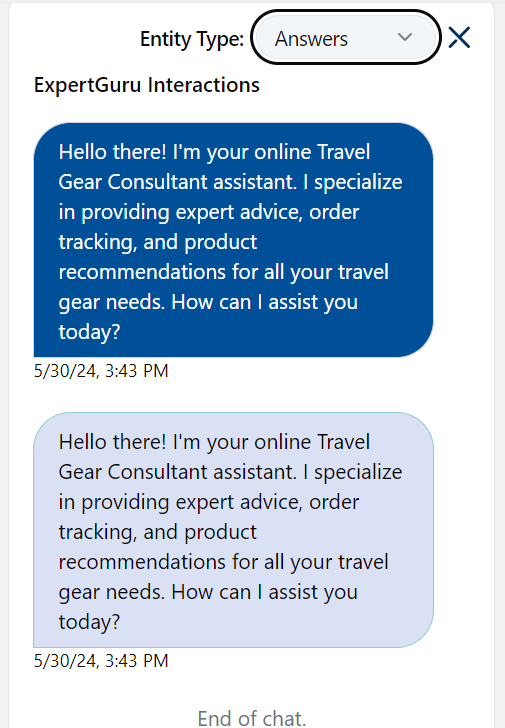
Note: Chat bot’s messages when “ignore history” is on are in grey message bubbles such as above
Filters and features:
Total number of user interactions.
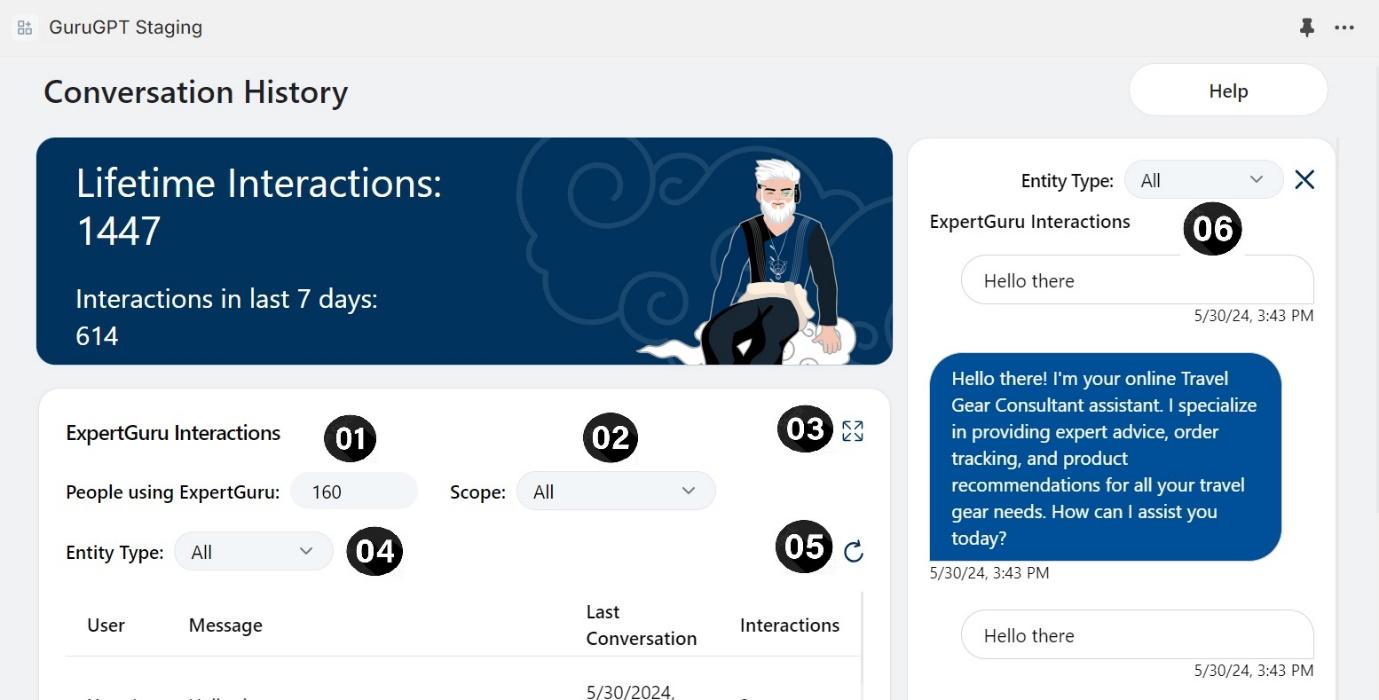
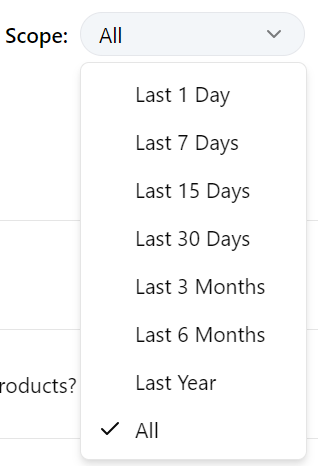
Filter the list of conversations on basis of when the last message occurred.
Hide the GuruGPT avatar card.
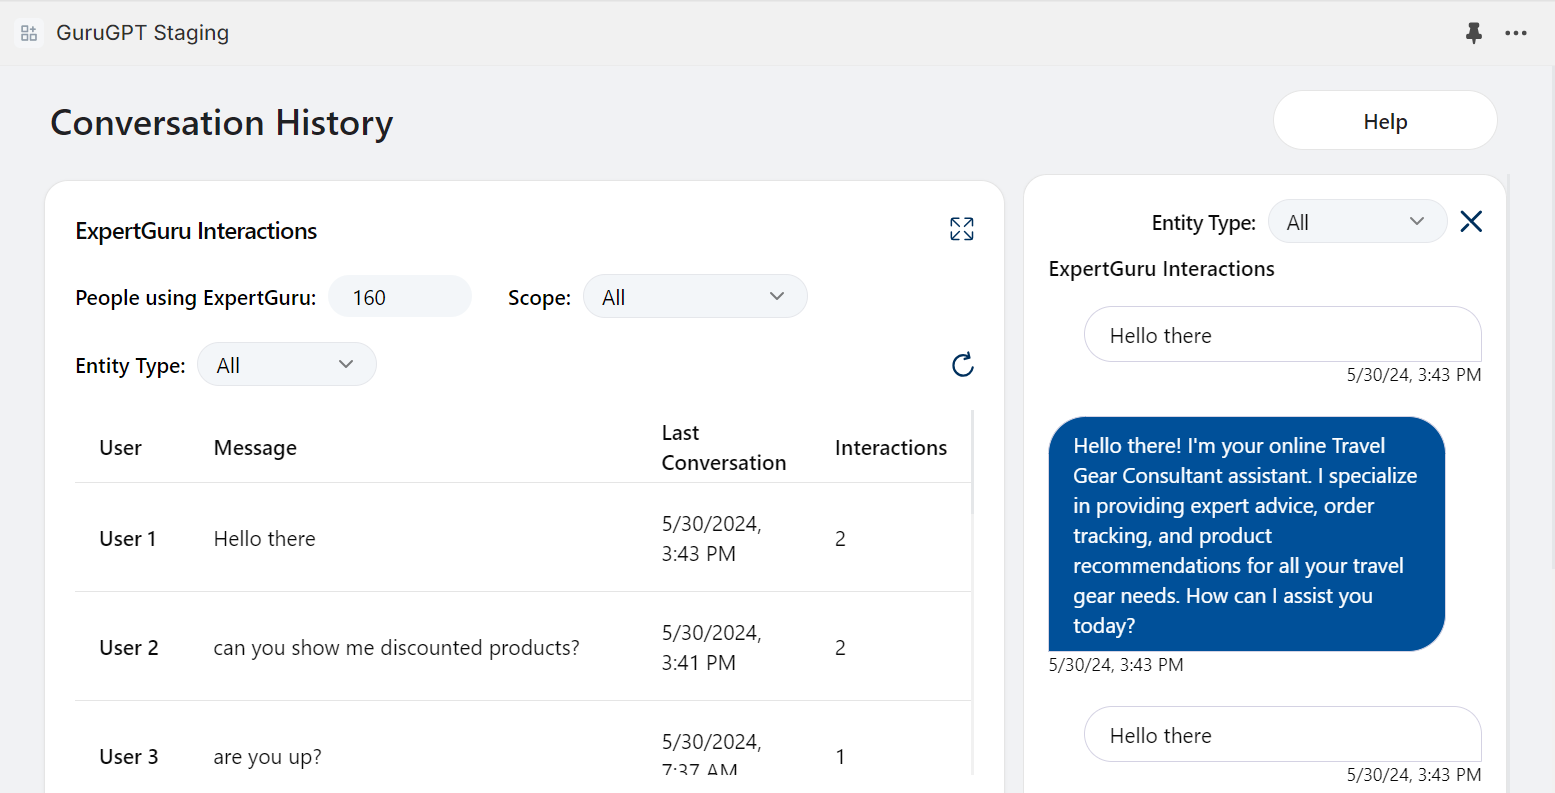
GuruGPT card hidden
Display conversation titles based on selected type (Questions from users/chatbot answers)
Refresh the chat history and get the updated list of conversations.
Filter messages based on type (Questions from users/chatbot answers)
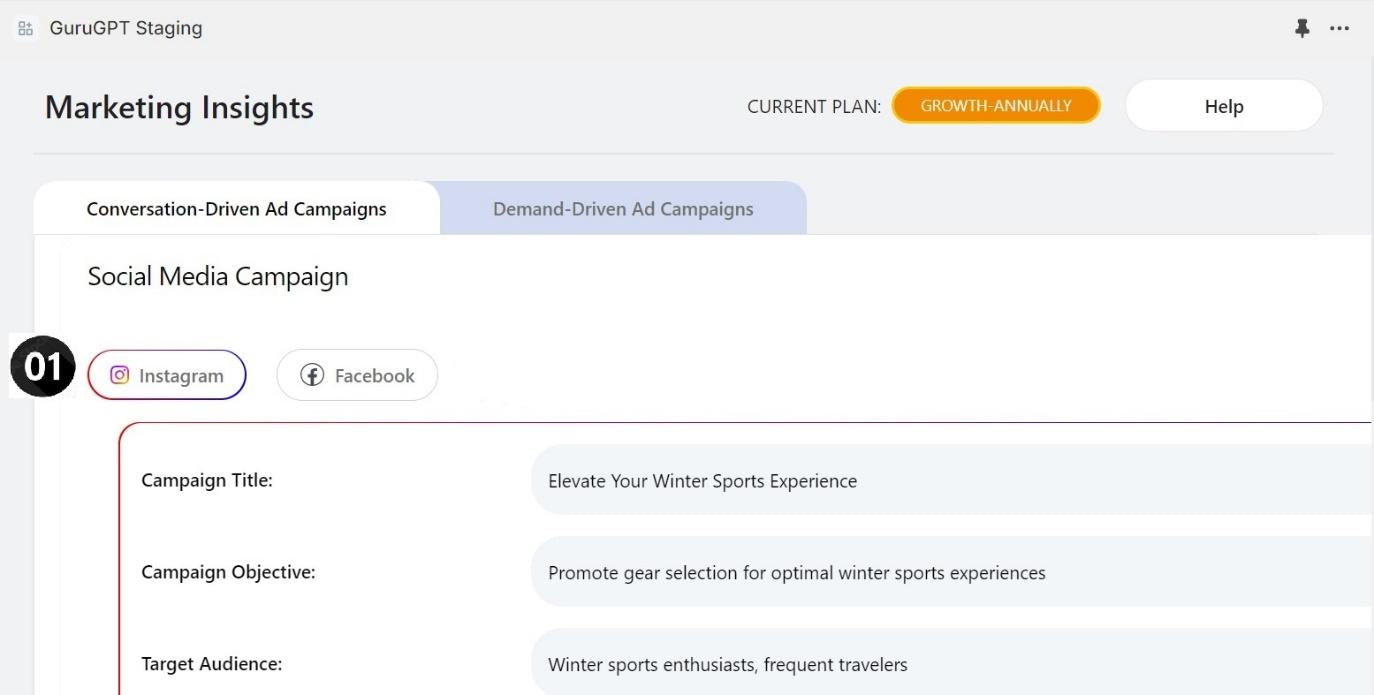
Marketing Insights
Conversation driven Ad Campaign
These campaigns are created using the conversation history and automatically triggers on a weekly basis (on Mondays).
Switch social platform style.
Changes the style of the campaign.
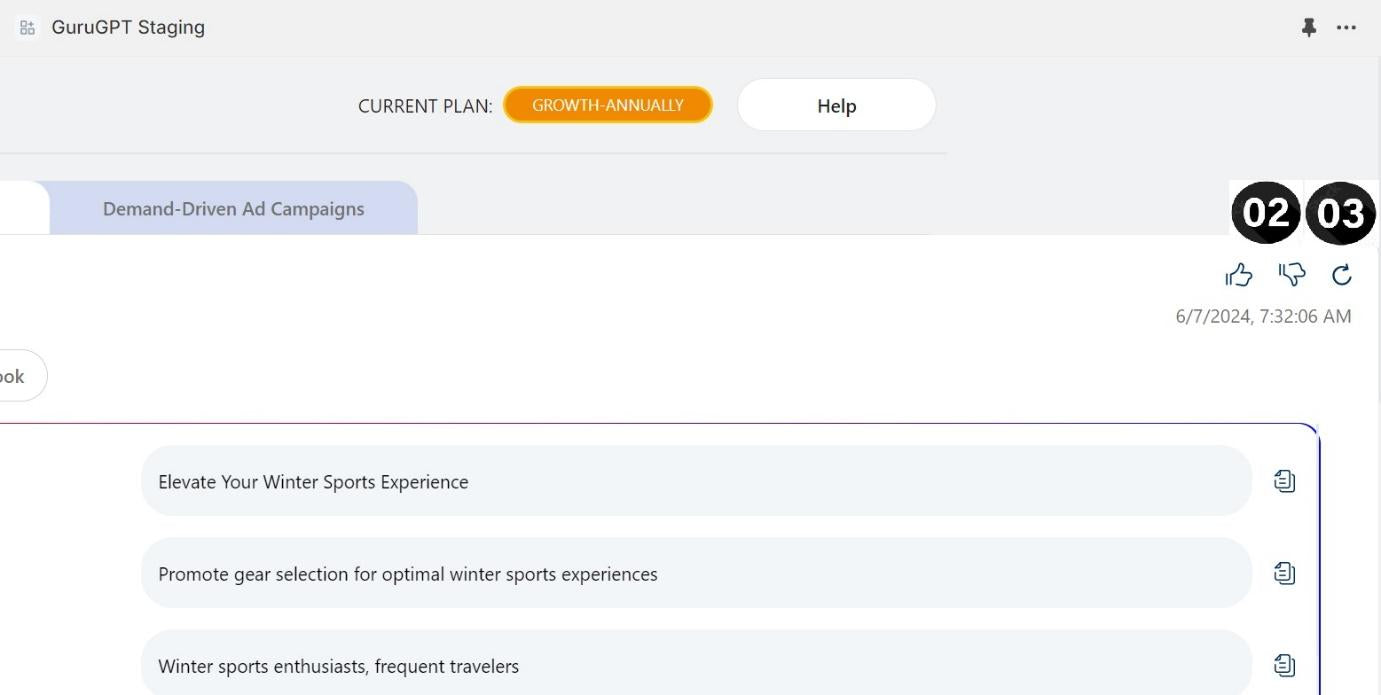
Like/Dislike
Give feedback to the chat bot to improve future responses.
Regenerate campaign
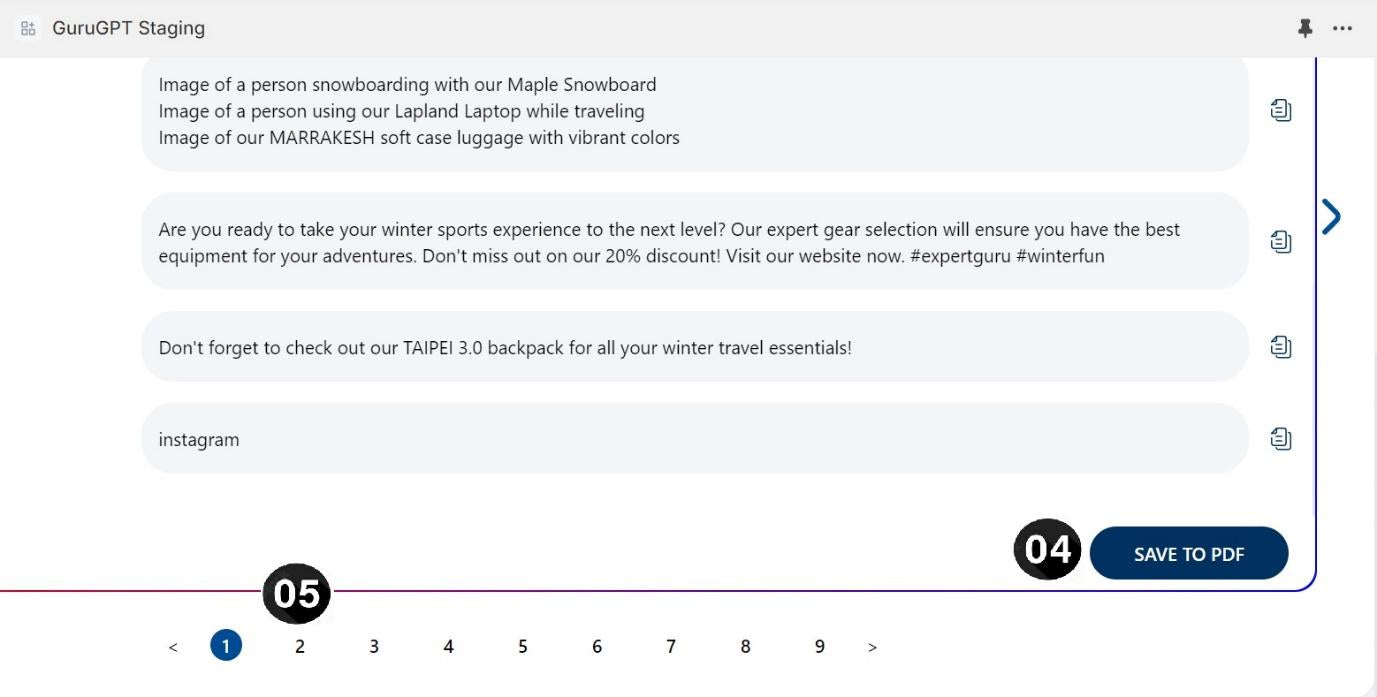
Save campaign as pdf
Change page to see past generated campaigns.
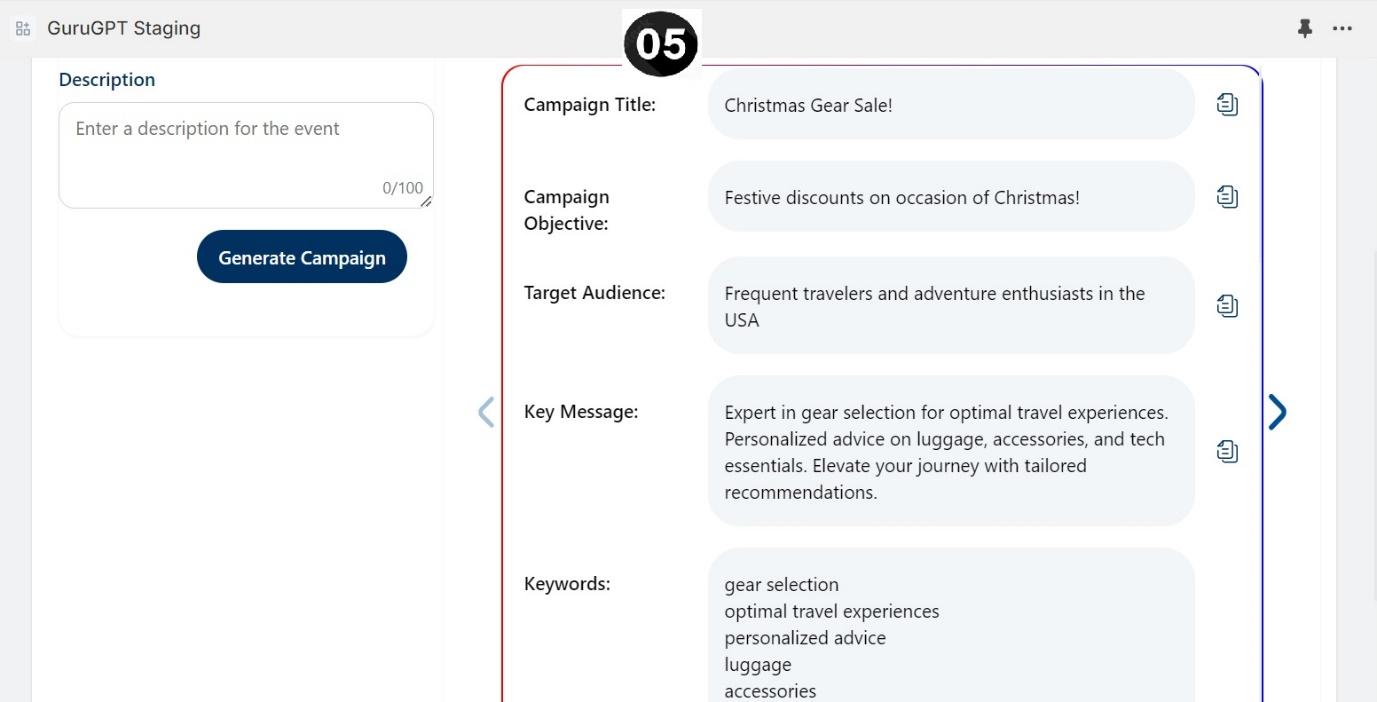
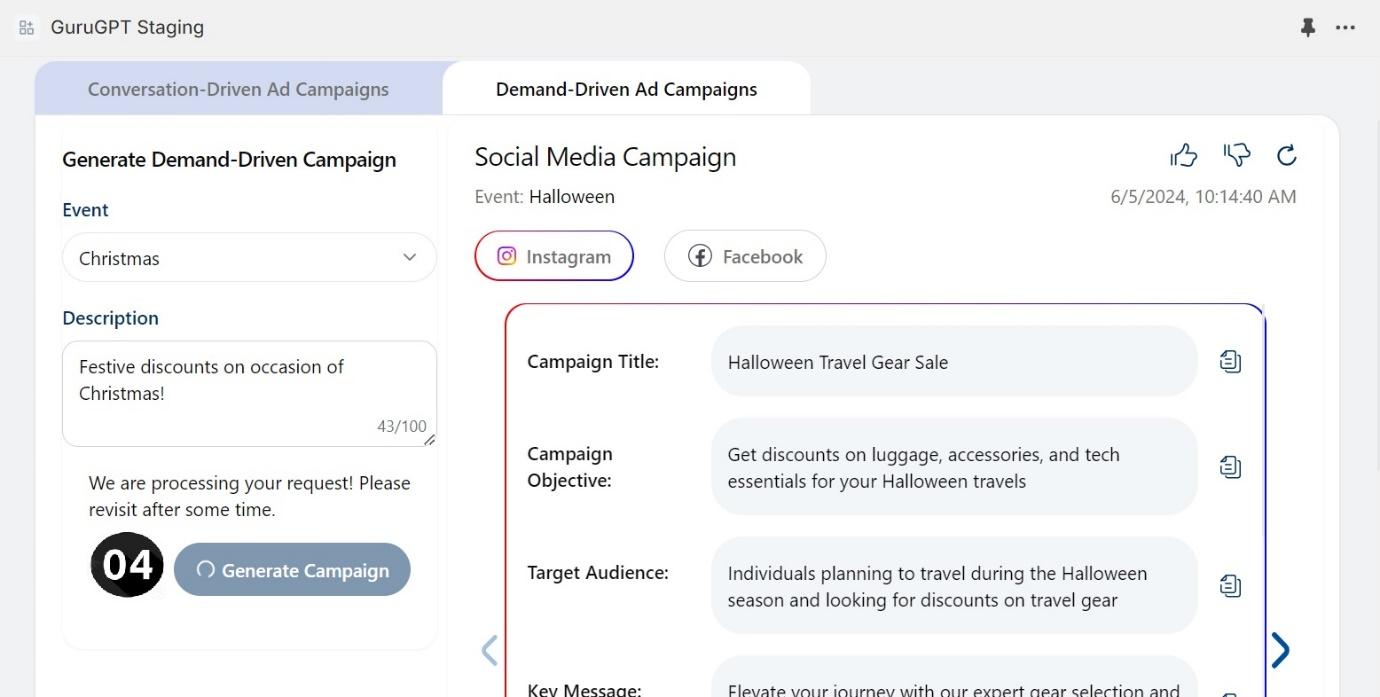
Demand driver Ad campaigns
Create a campaign
Select event rom drop down menu
Write the event description
Click “Generate Campaign”
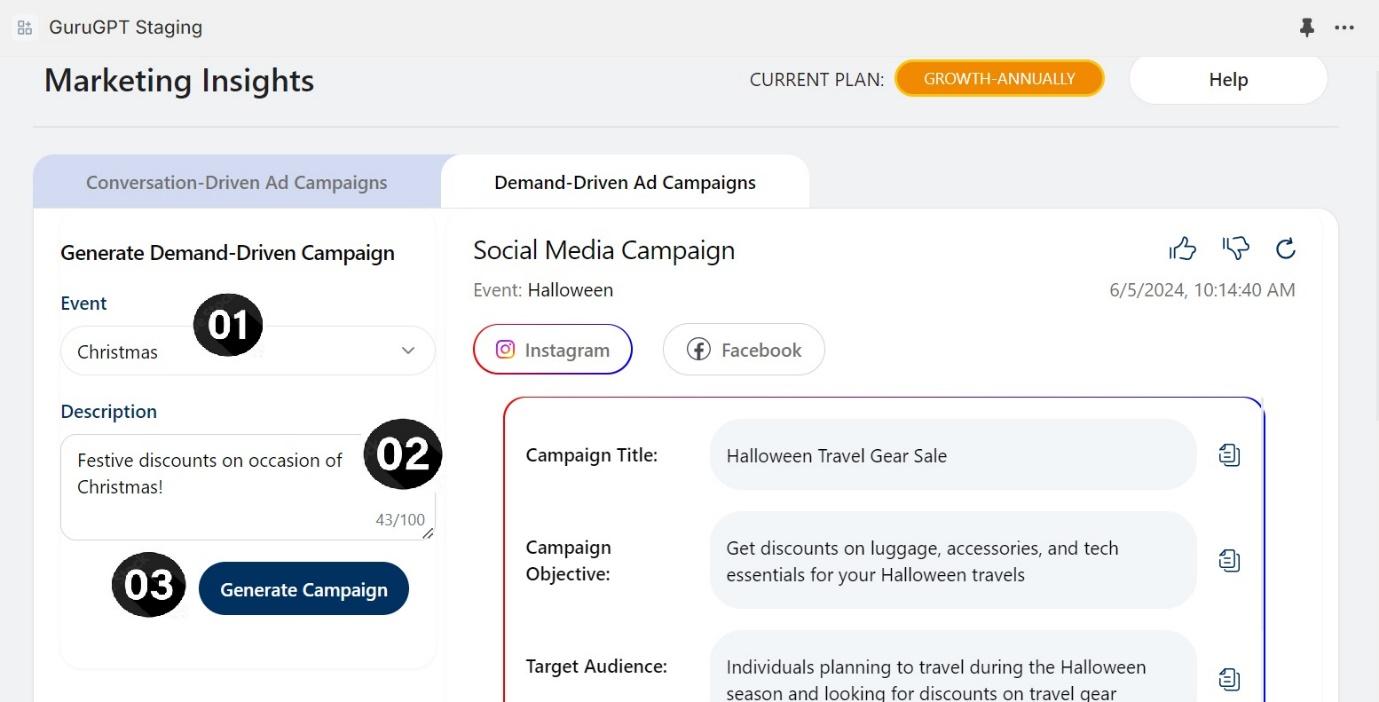
Campaign is being generated.
Campaign generated successfully.